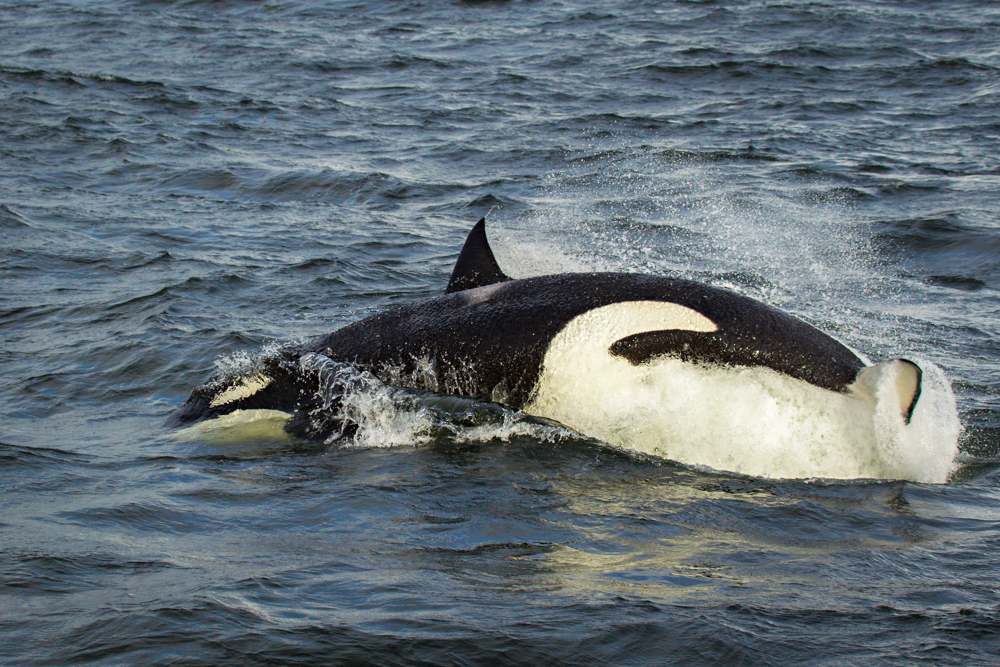
Impromptu Flash Accessory for Holiday Family Portraits!

Packing for a Christmas or family holiday trip can be a bit hectic...sometimes you might even forget a modifier for your Speedlight.

Hal scooting with his homemade modifier.

Now what you are about to see is what we like to call "bush league" but the modifier/soft box works extremely well and you can definitely find the materials at grandma's house! Depending on the size of your flash you can also create any size you want.

For a very simple modifier here are the items you will need:

  • 2 plastic or paper plates (you can choose dinner plate size or a dessert platter depending upon the size of your flash and the "softening" power you want)
  • Gift box tissue paper (white is most most versatile but a colored tissue will be just like a colored gel)
  • Tape 
  • Scissors

All of the pictures below show the entire process. Start by cutting out the inside or flat portion of the plate. Try to keep as much of the cut out portion because you will use it later in the process. The ring you are left with is the frame for the modifier.

Cut or fold the tissue paper into a square about the same size as the frame/ring.  One piece will do just fine but if you want to make the light more even, add an additional layer or two.  It is always a trade-off though when you add layers.  The light becomes more even but you will lose more of the flash's effective power.  For example, when I made this example, I used four layers of tissue and lost approximately 2.5 stops of light.

Tape the tissue to the frame.  You can get all "gucci" with it but I used four pieces and have a nice, tight surface.

From the cutout portion of the plate, fashion a rectangle or two.  Put onto the end of your flash to act as an attachment collar.

With the other plate cut out two rectangular supports.  Tape one end of each to the attachment collar on the flash.  The final step is to tape the supports to the plate/modifier.  When you put the flash on your camera, I like to change the zoom to Manual at about 50mm.

Simple but effective.  When we talk about light's quality of being either hard or soft, the only factor that matters is the size of the light source relative to your subject (this is, of course, controlled by the size of the light source and the distance from the source to the subject.)  The bare surface area of the flash is @ 3.7 square inches.  After adding the "bush league" modifier the surface area is @64 square inches. That is an increase of 17X.  One of the biggest issues with many modifiers is they do not really change the surface area by that much. But 17X?  That is effective!

Another nice feature of this homemade version is it is extremely light.  Whenever you add an attachment to your flash, always consider weight.  If the modifier is too heavy or has a lengthy moment arm you can easily damage your flash.

Go For It: Pixels are Free

One of my favorite expressions with digital photography is "pixels are free."  With no cost, photographers should enjoy complete freedom to experiment and play.  If you have an idea for a shot, go for it.  If it works, great.  Take what you did and make it a part of your photography. 

If it does not work out, no big deal.  But use the results as a completely free learning experience. Go to school and figure out what was the issue/s.  Can you make a small adjustment or do you need to go back to the drawing board and plan again. 

I recently found myself in a situation where I honestly did not know how the results would turn out.  I wanted to shoot a series of images for a landscape panorama in rapidly falling light levels.  I had the Canon EF 800mm f/5.6L on my 5K Mk II; a combination not often used for panoramas.  To make matters worse I was on the back of a moving boat.  Not only was it moving forward and slowly rocking side to side but we were in a regular ocean swell so we were slowly heaving (up and down.)

Not the best situation but pixels are free so I went for it.  The results from the 42 shots are shown below. 

This is the panorama after the stitching process.  If you follow the bottom (or top) you will notice a nice sine wave pattern.  That is the boat going up and down with the ocean swell.  My camera support was rock solid (RRS TVC-33 and PG-02) but the boat was out of my control. 

At this point I had a nicely stitched panorama even though it is somewhat ugly in terms of how everything lined up.  But it worked and did not cost a thing. 

After a little cleanup, I had a usable, huge panorama to optimize.  For a free experiment, I will take it.

Fiat Lux!

Photographing the Solar Eclipse

Photographing the Solar Eclipse

Remember to scout and plan your 20 May eclipse photo-shoot ahead of time.  Things you might want to include in your process: determine when the eclipse will happen in your time zone, determine the sun azimuth and elevation of the sun during the eclipse, plan and frame your shot/composition, determine your solar filter requirements, and take a series of test shots to validate your exposure.

If you wait until the eclipse starts to figure all of this out you might be a bit behind.

Read more on NASA's website for the technical data on the eclipse and where the best viewing regions will be. Who knows! It could be the best in your area!

For those of you photographing the eclipse please submit your images for us to see. The best images will be posted on the blog!

Email them to info@lightworkshops.com and size to 400x600 px (or close to that).

 -Happy Shooting!

Fiat Lux!

Best Methods for Cleaning Your Images

One of the most common gotchas we see in images and prints is the presence of spots. Regardless of the source such as dust on the sensor, every photographer should spot check their images before print, upload, email, delivery, etc. There are very few things that scream "lack of attention to detail" like spots in a finished image. At Light, we recommend spot checking every image at 100% or 1:1 view.

The best technique we have found to locate your spots is to use the Hand tool or a version of the Hand tool (other software) to slowly scroll through the image. Human eyes are very keen at detecting movement and this can help us find our spots. Many spots are very challenging to see on bright monitors when the photographer stares at the image. When you slowly scroll the image, dust spots appear to be moving against the background image.

This technique works extremely well. If you want to confirm a dust spot, wiggle the image with the Hand tool and the dust spot will jump off the screen at you. There are many instructors and photographers who recommend jumping through the image via keyboard shortcut. This is not nearly as effective as the scroll/wiggle method. Once you find your spots let the retouching commence (in a non-destructive manner, of course.) A common error with this method is to lose track of where you are in the image as you scroll. Use the Navigator to keep your bearings and you will easily check the entire image.

 Fiat Lux!

Part 3 - Camera Setup Checklist

By Hal Schmitt. Embellished by Victoria Schmitt

Select Desired Aperture

Do you want a shallow depth of field to isolate your subject or do you want as much of your scene in focus as possible? Remember the bigger the hole (smaller the number f4.5) the more shallow your depth of field, the small the hole (larger number f22) the more depth of field you will get.

Compose the rough scene

Look into your viewfinder and start to compose your scene. You can scan left right, up and down see what you want included or centered in your frame.

Meter and set exposure

Hopefully at this point your back-button focus is going to be your primary meter and focusing button. Depending on what exposure your aperture is giving you adjust the shutter speed to compensate for your exposure. If you are having a hard time getting a fast enough shutter speed, you will have to either change your ISO or your aperture to get the desired focus and exposure for the scene.

Focus

Make sure the primary subject is in focus.

Fine tune composition

If you now have to move your composition so that your subject is not smack dab in the middle, make sure your focus is set and move accordingly.

Fine tune your exposure

Shoot!

(Or just take a photo, picture or snapshot if your lingo does not include a shooting reference)

Review as necessary

Look at the back of your LCD. Make sure you are looking at your histogram!!! You don't want your histogram piled high on either side, but don't worry if there are parts of you scene that have a black point and a white point built-in. If you have a large amount of 1 "gray" tone (Blue sky, red rocks) you may have strange peaks and valleys in your histogram. What you're looking for is a balanced exposure. Do not depend on the picture you see on your LCD and always refer to your histogram. Remember, these are pixels. It's information being captured on a sensor, so rely on the information it gives you and not how pretty the LCD picture is.

Happy Shooting and Fiat Lux!

Part 2 - Camera Setup Checklist

Last week I started with a checklist created by Hal to help you set up your inner camera settings before going out to shoot. Here I have another great checklist to help you start getting your camera working the way you want it to work.

Checklist by Hal, embellished by Victoria

Select Mode

– We recommend Manual- Always. Yes, there are those out there who want the "P", "professional mode" because life happens fast, right? Well, yes, but do want to capture life the way your camera brand wants, or how you want to capture it? Your camera doesn't know that your subject is back-lit and running quickly. But you can make your own adjustments in order to accommodate what you want exposed properly, in focus etc.

AV and TV is nice, but the camera is still making those critical decisions for you. Practice in Manual now so that later on you know how to control your camera quickly. If you have a camera that can create custom functions then you can set those to help you quickly change from your custom portrait settings into action settings as good starting points. But never assume that a camera should or can think for you.

Set White Balance-

 Cloudy? Sunny? Are you using a strobe? Yes, you can kind of "correct" this later in RAW, but there are more than a few reasons to save yourself a step or a few steps before you even take the photo.

ISO

- We recommend starting at your lowest ISO that your camera will give you for the cleanest noise-free image possible. If you're in lower light see if you can adjust your aperture (smaller number, bigger hole) to get a fast enough shutter speed to hand-hold your camera. If you're on a tripod then there's are very few reasons to be on a higher ISO. You don't want your stars to be dots of noise from your sensor. 

Metering modes- 

Try to stick with Evaluative metering, or Matrix metering. 

Auto focus- 

Set correct mode for the scene you have. A simple guideline:

If you are photographing a moving object you will want Ai Servo, if you are shooting a non-moving subject/object then put it in "one shot" mode. 

Drive mode- 

You have single, continuous, or timer. Single (one square) is 1 shot per press of the shutter button. Good for portraits or slow moving scenes etc. Continuous mode and Continuous mode "H" for high speed (multi-squares and a multi square with an "H") is awesome for the soccer mom/dad, shooting horses on the beach at the California Photo Festival, or birds etc.

Select Auto Focus point/points:

If there is a moving object you may want to set these point on one of the sides of your focus choices. if the object is running from Left to right, I will set my primary focus point on the far right side of my viewfinder. That way as I follow the object the front of the object is always the point of focus.

Lens modes:

These are for the larger lenses and lenses that have these options. not all lenses have these options available.

-IS/VR:

Image stabilizer/Vibration reduction- This send out a small vibration to counter the vibration you are giving your lens while holding it.  We recommend you turn it on when hand-holding and turning it off when you're on a tripod.

-Mode 1 or 2 for IS/VR?

Mode 1 is better if you are simply hand-holding your camera. Mode 2 is better if you are panning or moving while you're shooting.

-Focal Distance?

On my 100-400, for instance, it has a choice of either 1.8m to infinity, or 6.5m to infinity. This is setting your minimum focusing distance on your lens.

I hope this helps you during your next adventure or local photo-shoot!

Fiat Lux!

Victoria Schmitt

Here is a sneak peak to next week's list:

Select Aperture (which one and why)
Select your shutter speed
Is your Shutter speed or Aperture more important?
Compose the scene (how and why)
Review as necessary (where, why and what to look for)

...and more...

Part 1 - Camera Setup Checklist

Written by Hal and Embellished by Victoria

I have received a few inquiries about how Hal and I set up our cameras and our gear before we go out on a shoot. Hal, being the thorough instructor that he is, has created checklists for this very thing. We usually hand these checklists to our "Basics of your DSLR" workshop attendees. In this class Hal teaches, in detail, his methods and recommendations for camera set-up as they go through the checklist.   Since you don't have his in-person charm to explain his points, I went through them and added a few embellishments.
So here is his simple check-list (the first of 3 parts) as good starting points for you to set up your camera before going out to shoot. 

In your camera setting menus
1. Set Image Quality
Picture Style for JPEG? All cameras give you “JPEG preview” for your LCD. We recommend the Neutral setting which gives you the closest “look” to your RAW image.
2. "Shoot without card" Option
Turn this Off! That way you don’t realize 100 shots in that none of your images have been recorded because you didn’t put a card in your camera…This has never happened to us, of course.
3. Color Space
Adobe is preferred: Adobe 1998 etc. Give yourself the largest color space possible to start out with. That way you have the choice of minimizing color space later on if needed.
4. Highlight Alert
Enable (remember to check your histogram also!) This is a friendly reminder from your camera that you have over exposed your highlights. It says you are “void” of pixel information where the “blinkies” occur.
5. Auto rotate
On- Save yourself some time in the post process!
6. File numbering
Continuous- If you aren't renaming your files when importing, this will keep from having duplicate numbers- which could create confusion or overwriting your files in your folder.
7. Set Correct Date and Time
Ultimately, you will be using this for your import process, key wording, searching for images. For wedding and event photographers that use a second shooter or camera, this REALLY helps when combining second shooter/camera images into your catalog or “time-sorted” folders.
8. Program back button focus only
AF-On: Opposed to shutter button focusing.
AF-On or the “Back-button” (*) focus is what we recommend to all who use auto-focus.

Set Specific Goals: A Tip from Rick Sammon

In photography (as well as in life, of course), it's very important to set goals. If you don't set goals, how do you know where you are going?

Here is an example of what I mean.

While teaching a private workshop in Mongolia, the student and I had the opportunity to get the shot that every horse photographer wants to get: a shot of the horse with all the hooves off the ground.

To get the shot, I told the student that we had to (and you can use these tips when photographing fast-moving subjects):

1) Set our Canon 5D cameras to the AI Servo focus mode - which tracks a moving subject right up until the moment of exposure.

2) Choose the rapid frame advance mode.

3) Compose the scene (using our Canon 100-400mm IS lenses) with lots of space around the subject – so no important parts were cut off.

4) Choose a shooting position where the light was just right.

5) Carefully watch the background so that the subject was completely isolated.

6) Take several series of images to ensure at least one good shot.

7) Use a shutter speed of at least 1/000th of a second to freeze the action.

8) Shoot with both eyes open - so we could see if something was coming into the frame that would ruin our pictures.

9) Check all our camera settings (ISO, Image Quality, white balance, etc.) to get the best possible in-camera exposure.

• • •

Setting the specific goal beforehand, and going through the motions of taking the shot in our hotel rooms, we became comfortable with the process. When we got on site, we practiced the process again and again - before the show.

All our practicing made getting the shot relatively easy - again, because we set a specific goal.

So . . . I told this story to my students while teaching a workshop at the LIGHT Photographic Workshops in Los Osos, CA. The next day were were going to photograph horses running on the beach.

Guess what? They all set goals . . . and they all got the shot.

Set specific goals, and you'll have a better chance of getting the shots you envision in your mind's eye.

Explore the light,

Rick Sammon
RickSammon.info

Don't miss seeing Rick Sammon and 4 more Canon Explorers of Light at this year's California Photo Festival.

Early bird pricing ends August 30th! Register today at CaliforniaPhotoFest.com