by Kent Cameron
Food photography has never been more popular. The interest in food and sharing food experiences have been driven by digital cameras, food blogging, Facebook, Pinterest, e-books, cookbook self-publishing and media like Food Network, which have all helped to fuel the food trend.
Following that trend, several years ago my wife, Sally, a professional chef, decided to create a food blog called, A Food Centric Life. She asked if I could use my photography skills to take some shots of her food. I quickly learned that creating great looking food images has its own special set of challenges.
Whether you are a photographer wanting to add food to your portfolio, a cookbook author, a blogger, or anyone interested in shooting food, here are a few tips from my food photography journey that may be helpful in your journey…
Tell a Story
When we prepare for a food shoot, we talk about the story first. The story may be about enjoying some crème brulee and espresso at a bistro in Paris, or grilling burgers in the park for a picnic on a rustic table, or something very simple.
Ask yourself what the food or recipe means to you? Does it have meaning in your life? What is the setting? Is it a holiday, a seasonal dish, a family favorite? What props, colors and textures are involved? How will you tell that story to the viewer with your image?
Direct the Light
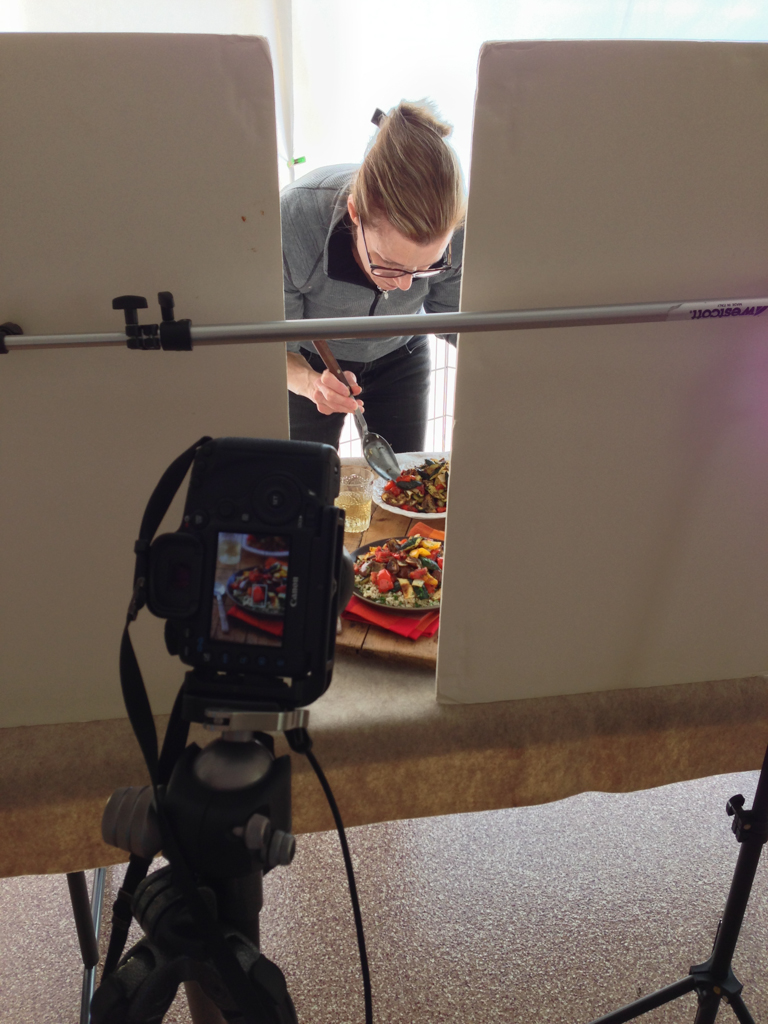
Look for light that has direction. It can be light through a window, or doorway. We often shoot food in our garage with the open garage door creating a large space with directional light. Or, we create directional light using studio lights when natural light is not available.
Set up the shot so that the light is coming from behind or from the side. Think about light direction like the hands on a clock. If the food is at 6:00, backlight is 12:00, and side light is 9:00 or 3:00. Lighting this way creates depth and interest in the food. Never light food directly from the front, and absolutely do not shoot food with a flash mounted on your camera.
Diffuse and Reflect
A common mistake is to over light food images. Once you have created a scene with directional light, then can decide how much highlight and shadow works for the shot. Use a diffuser to soften the light and control highlights. Not all food images use soft light, but it works great for many.
Use a reflector to control the amount of shadow. We use pieces of basic foam core board that you can buy at any art supply stores as a reflector. Position the foam core opposite the light. Use white foam core to reflect light and brighten the shadows, and black foam core to take light away, creating deeper shadows. It's amazing what you can do with your food images by just experimenting with reflectors.
Work the Composition
Amazingly subtle changes in your composition can make or break your image, so really work your shot angles, direction of the light, placement of the food and props in the shot. Use the composition rule of thirds and avoid placing food dead center in the frame.
Style the Food
The job of a food stylist is to make the food look its best for the camera and create direction or flow of movement for the eye. Unless you are working a well budgeted food shoot, likely the food stylist is you! I am fortunate that my wife, Sally, is a chef so preparing and styling the food is her department.
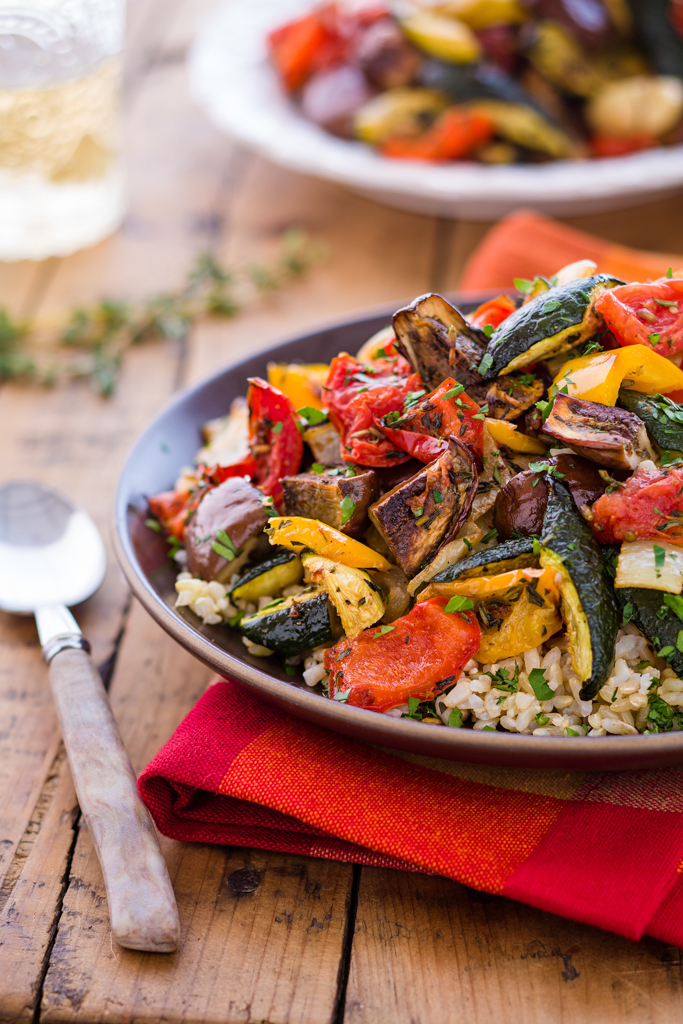
Buy top quality food and ingredients. You want beautiful food for beautiful food photos. When styling, think how you can create movement in the image. Add a flowing napkin with complementary color, for example, or maybe a utensil. Think about how you can add textures and create lines that draw the viewer's eye into the food scene.
Learn More about Food Photography
Kent and Sally Cameron work as a team, blending their love for great food, photography, and teaching to produce beautiful images that inspire and educate people about food.


