
HDR Soft released the production version of Photomatix Pro version 5 today. I have been working with the beta for a couple of months and this software is outstanding. If you already own Photomatix Pro this is a free upgrade. If not check out the link below and try it out. The great thing is Photomatix Pro has a never expiring trial. The trial watermarks but is fully functional.
Workflow Demo - Silhouettes with LR, PS, and Clarity
Here is a quick demo of one of Hal's silhouette techniques using Lightroom, Photoshop, and Topaz Clarity. Good stuff even if you have not shot a silhouette yet!
California Photo Festival
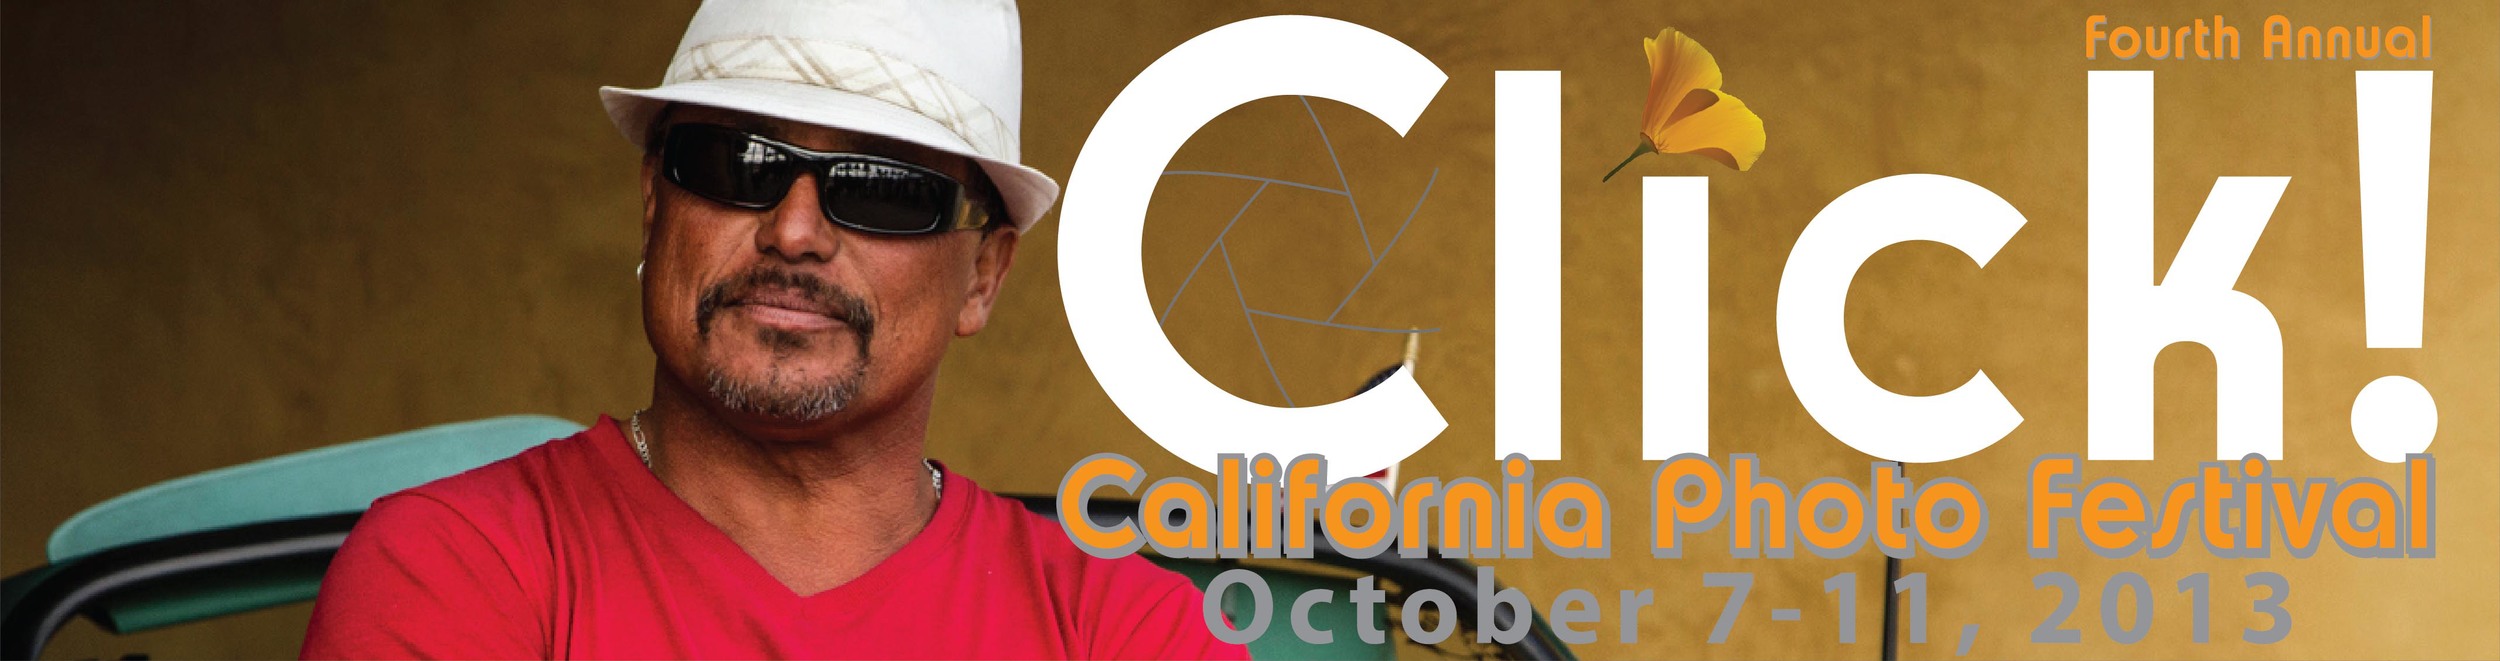
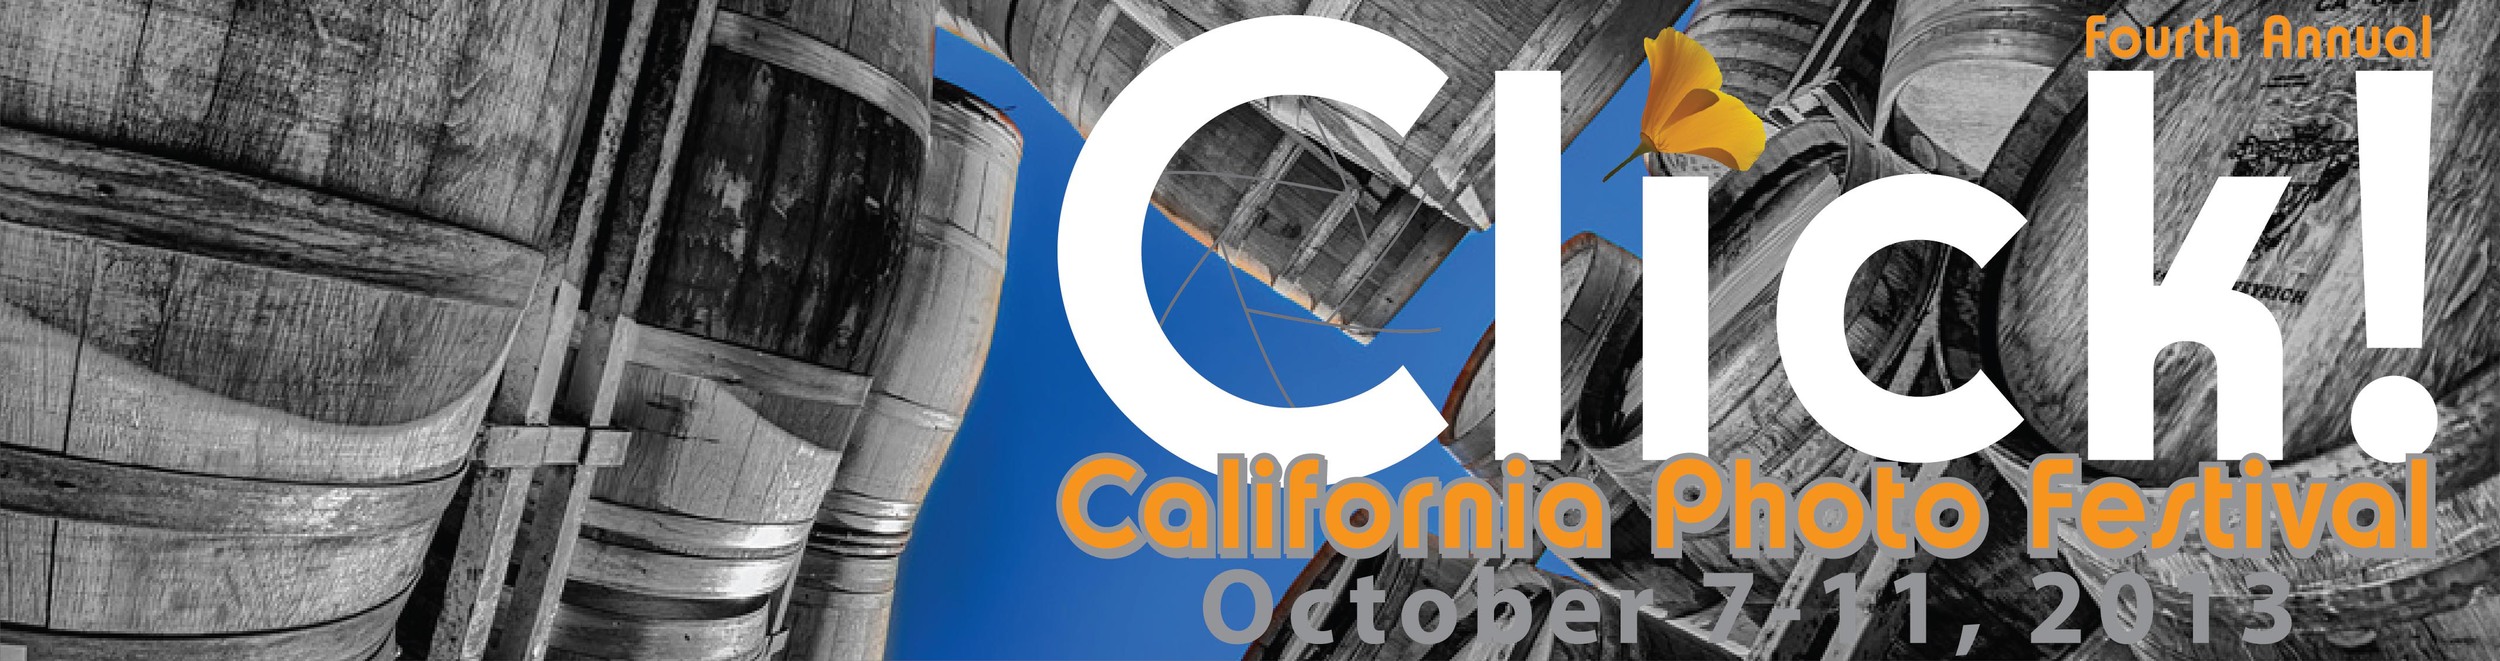
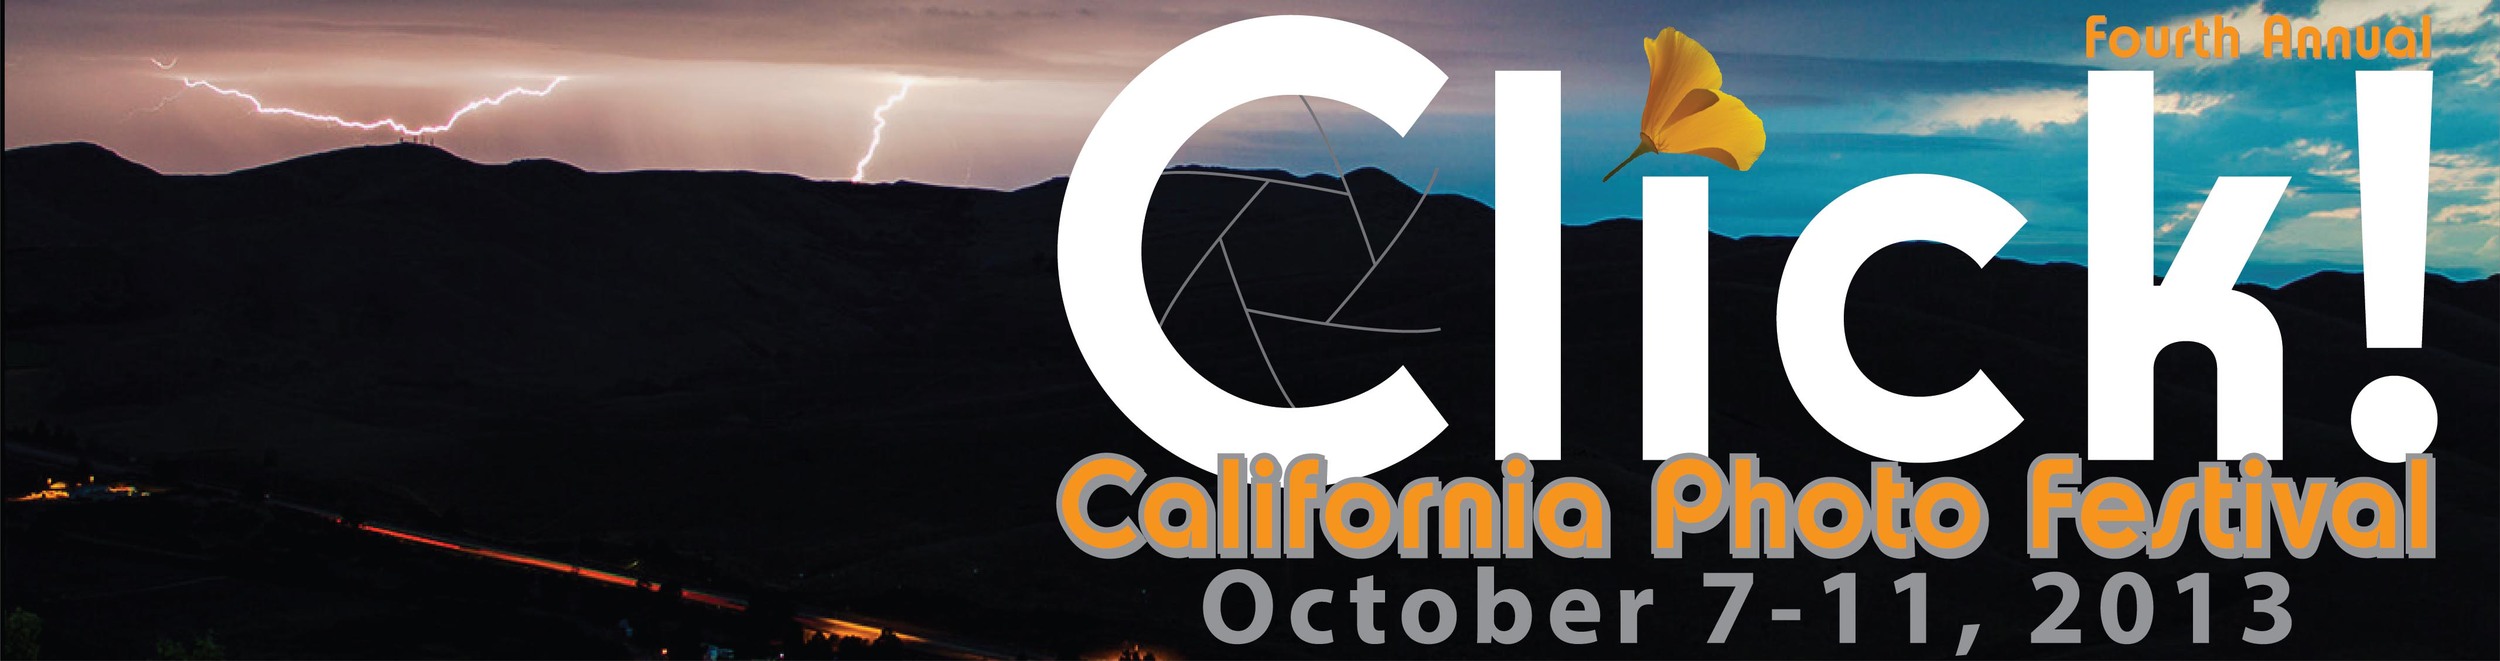
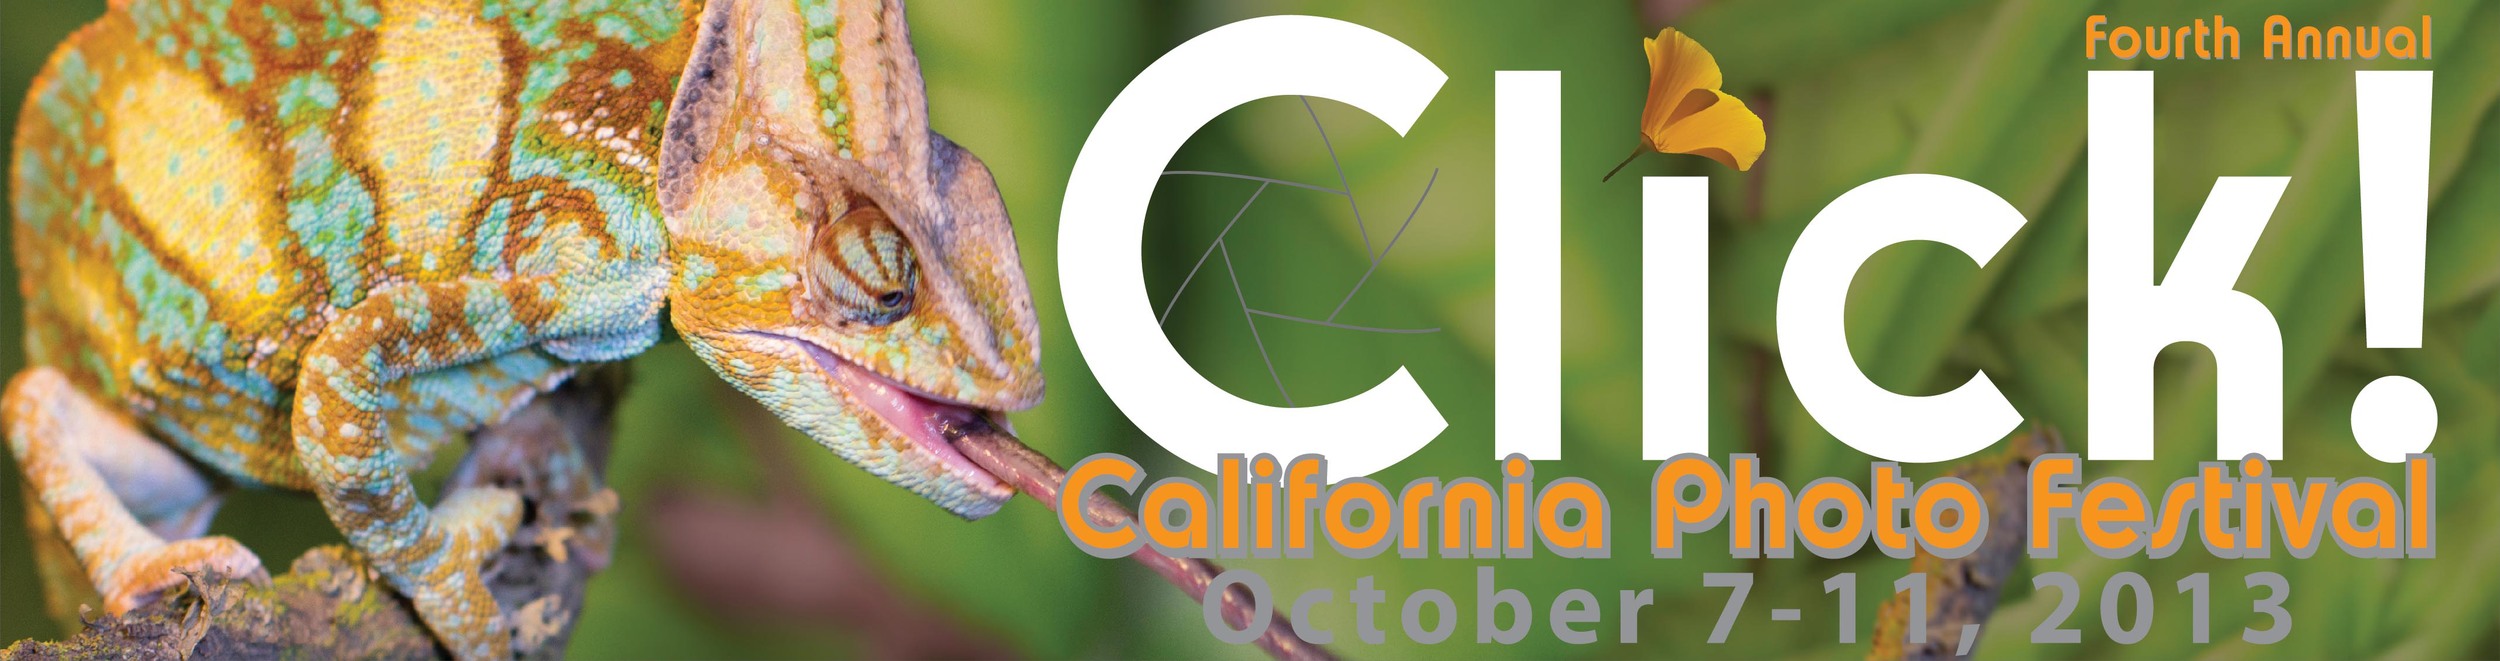
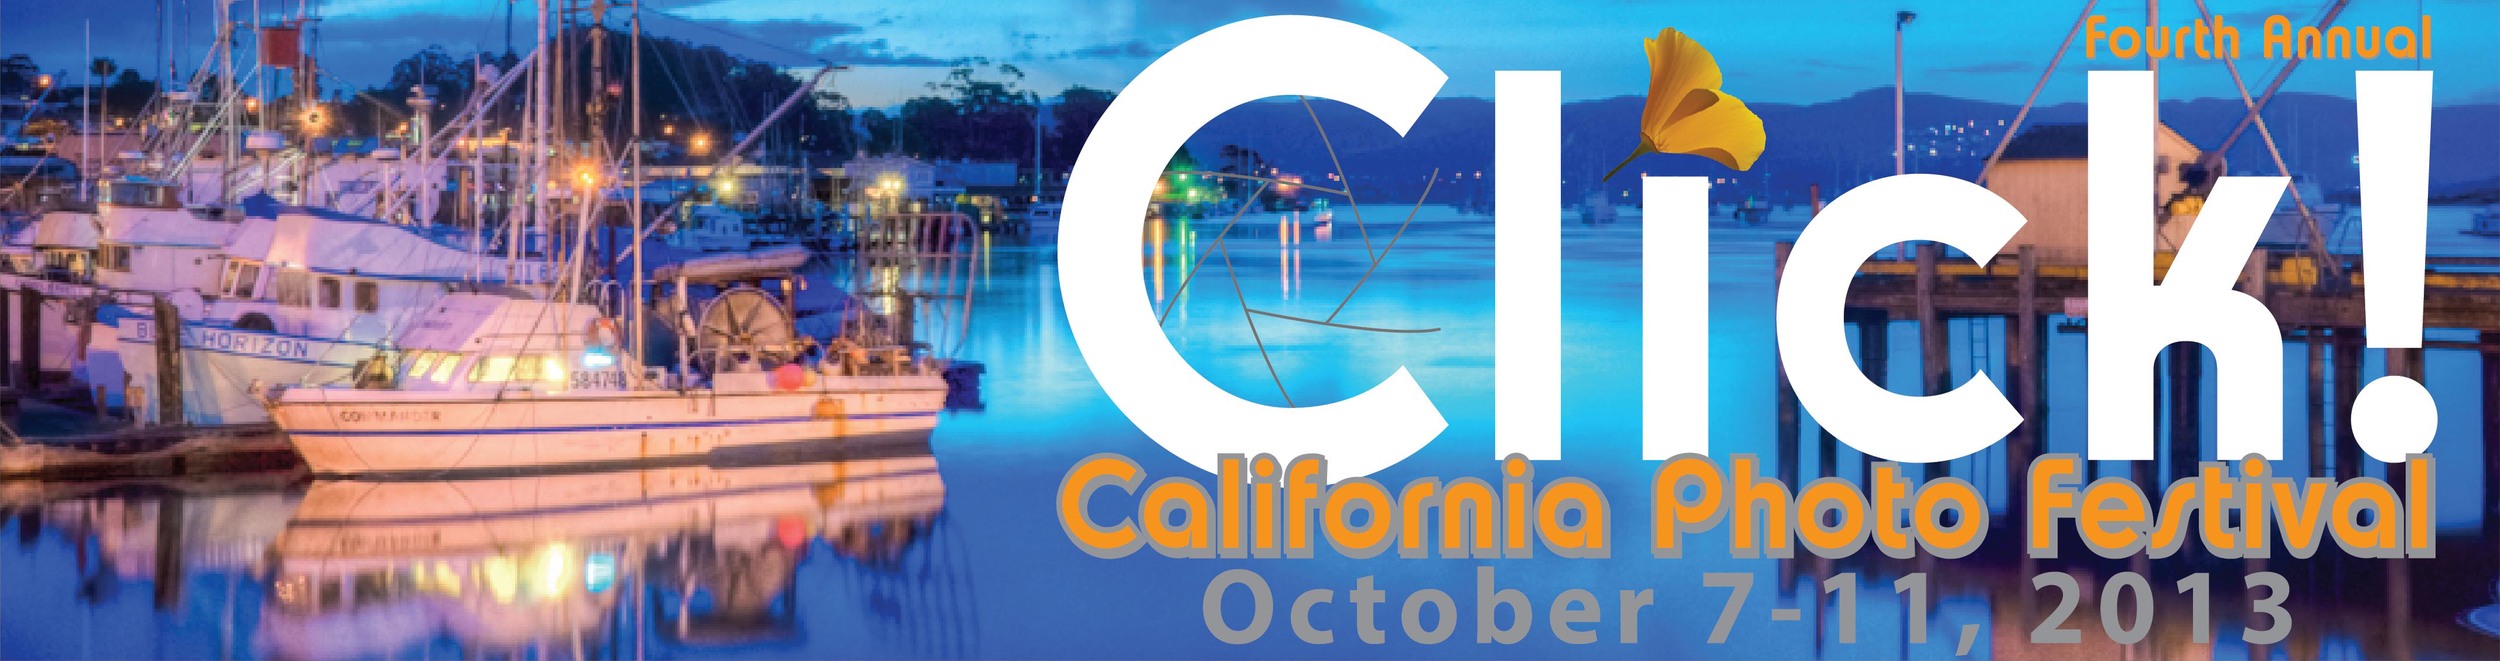
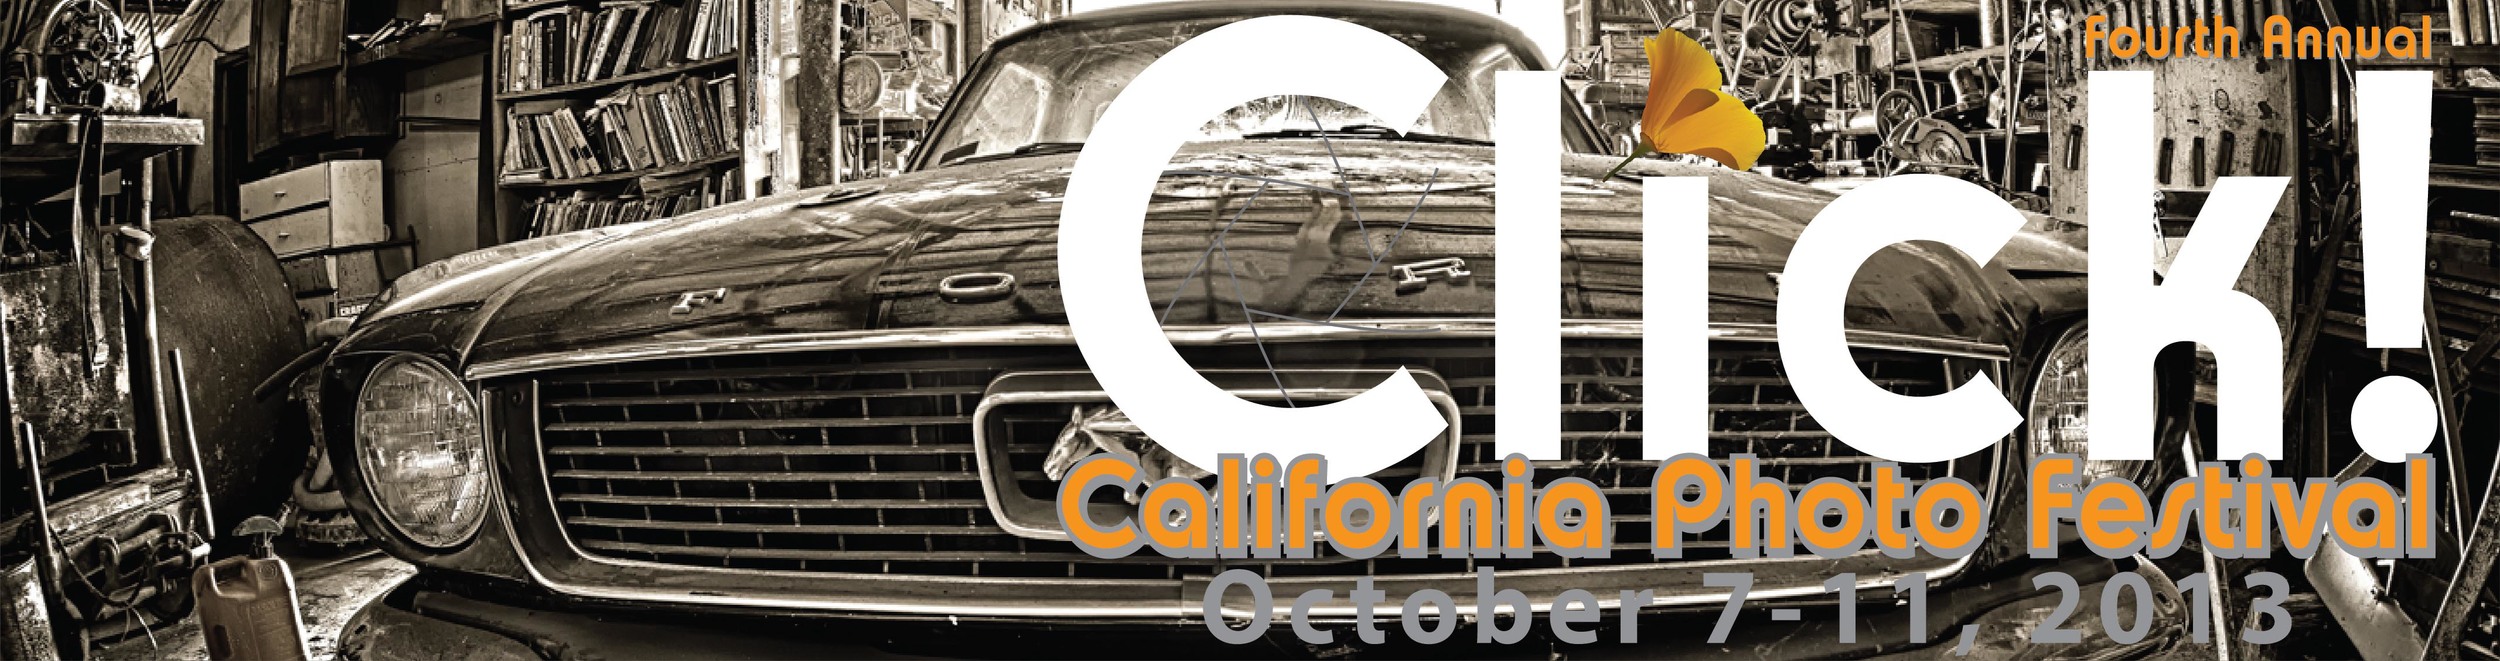
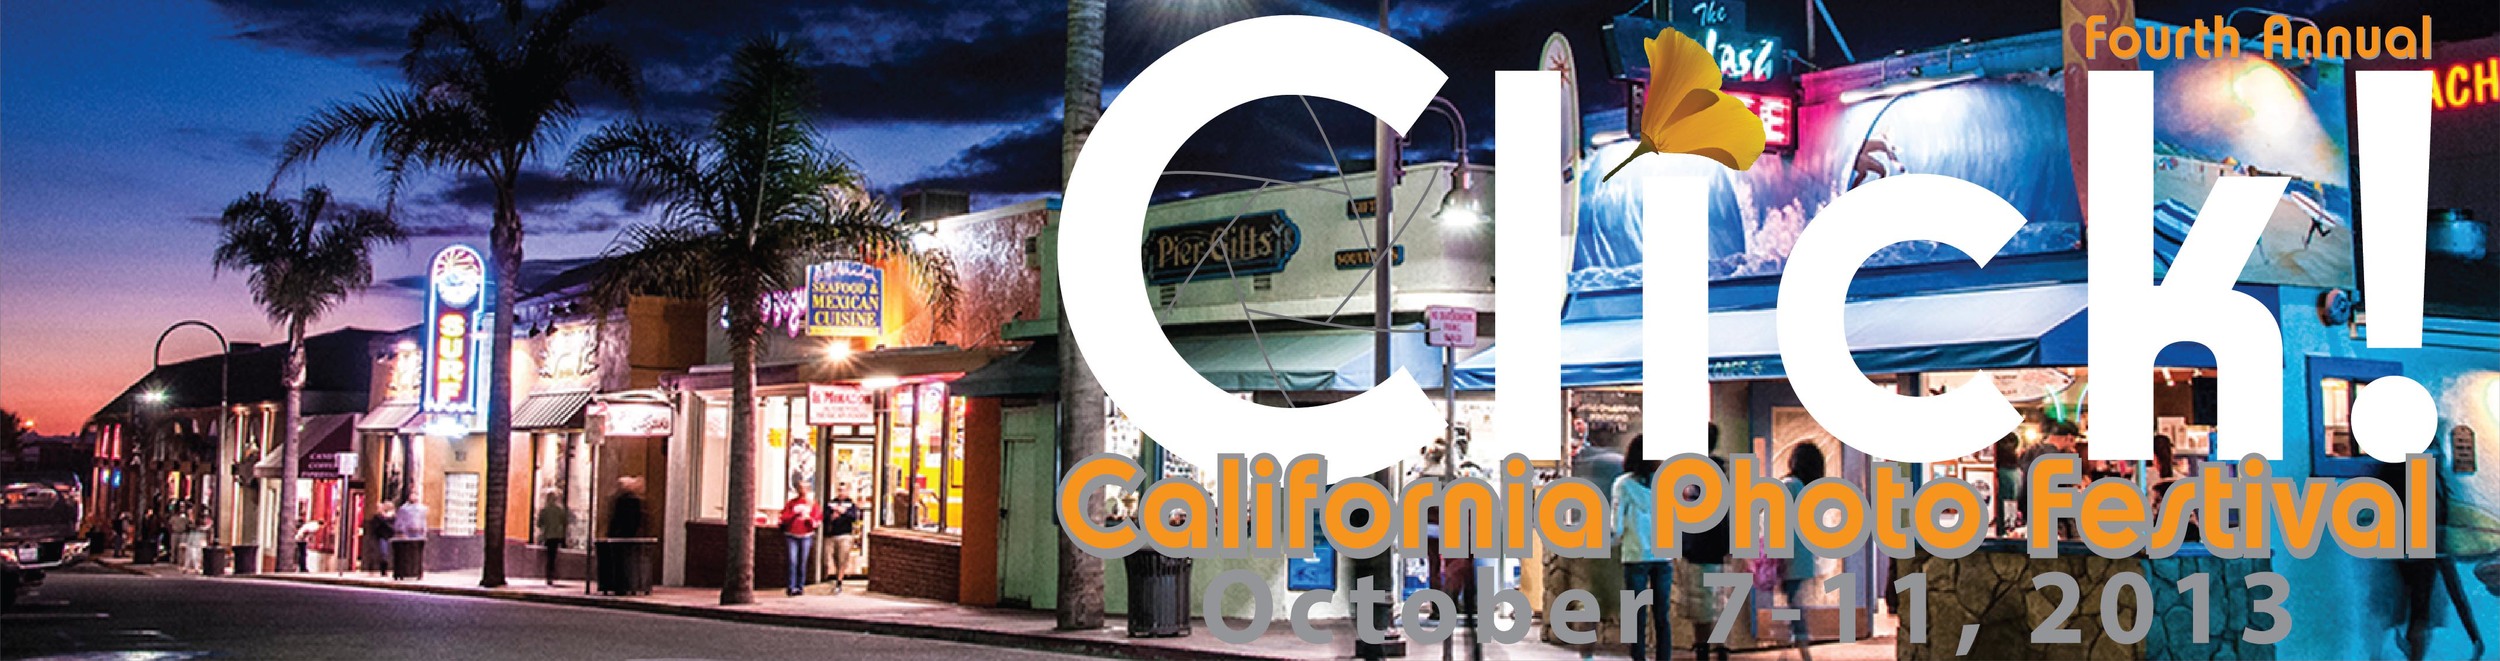
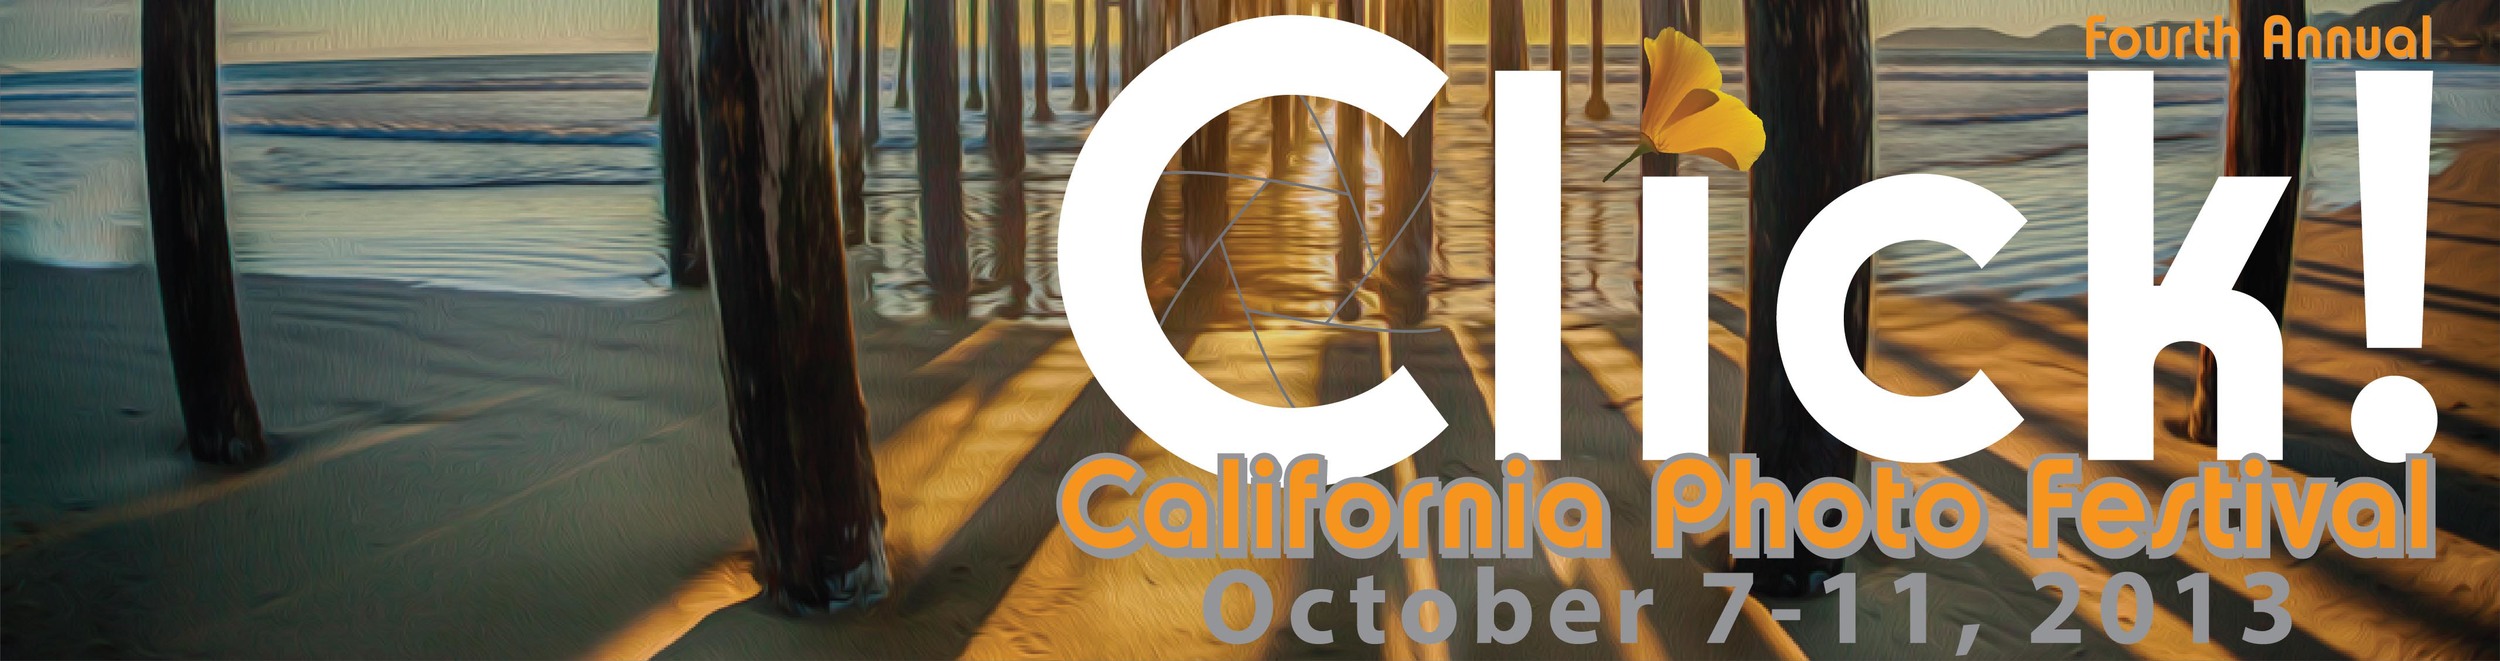
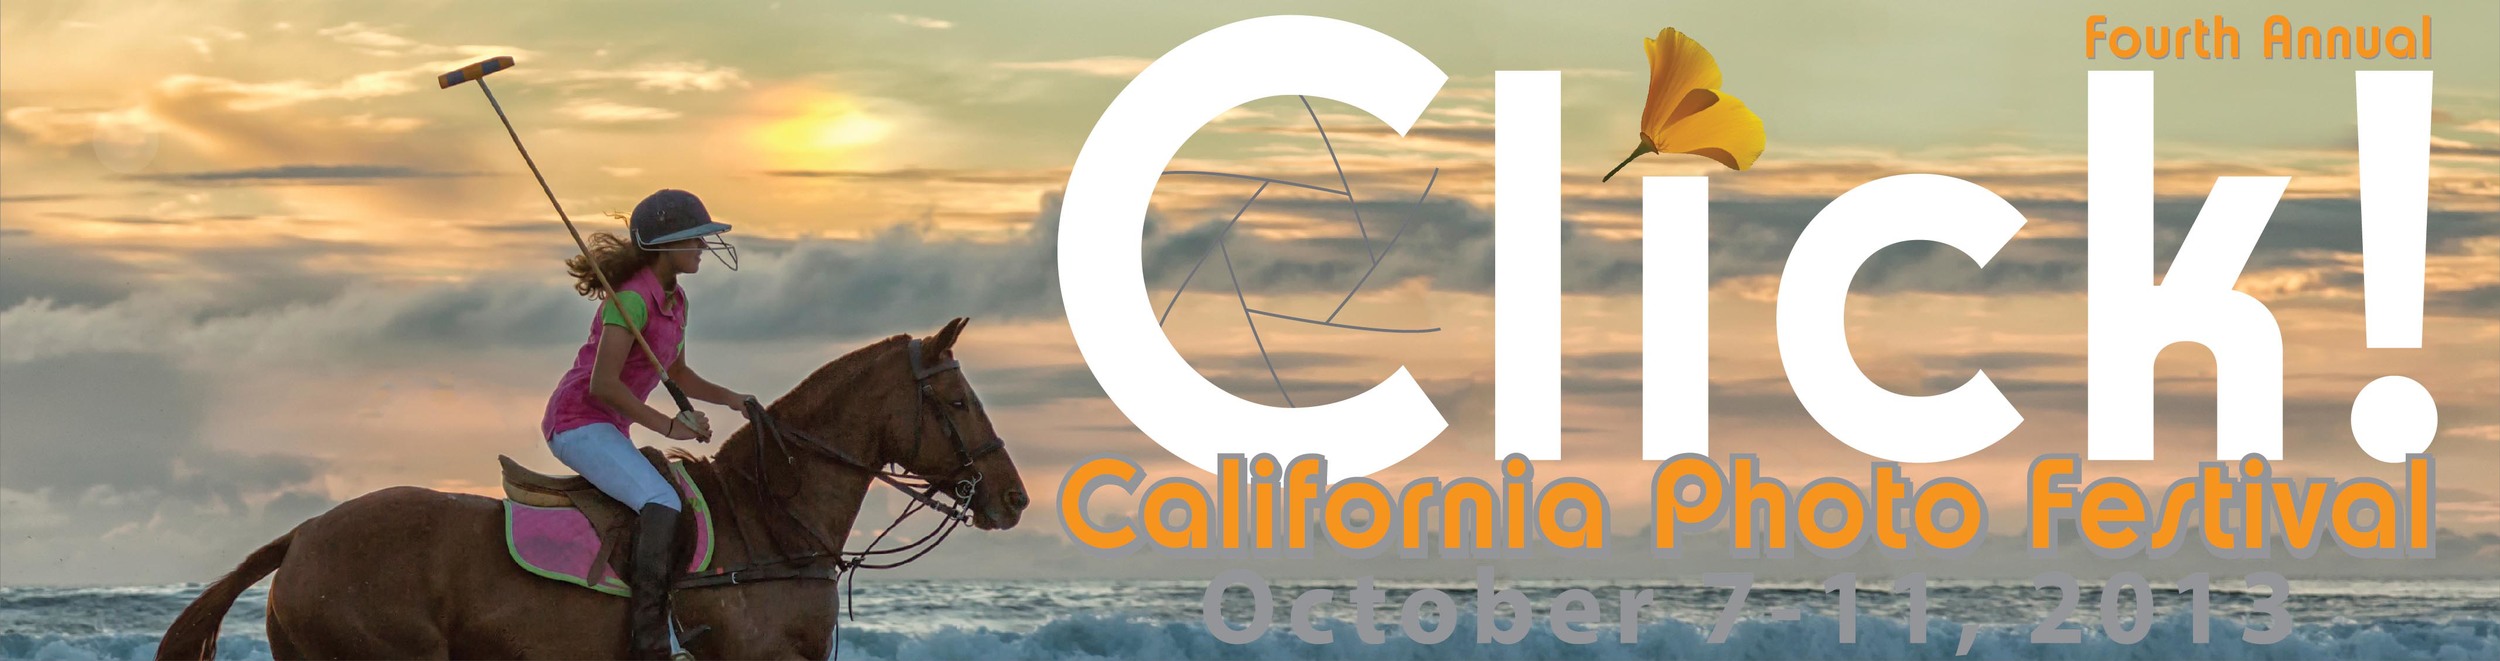
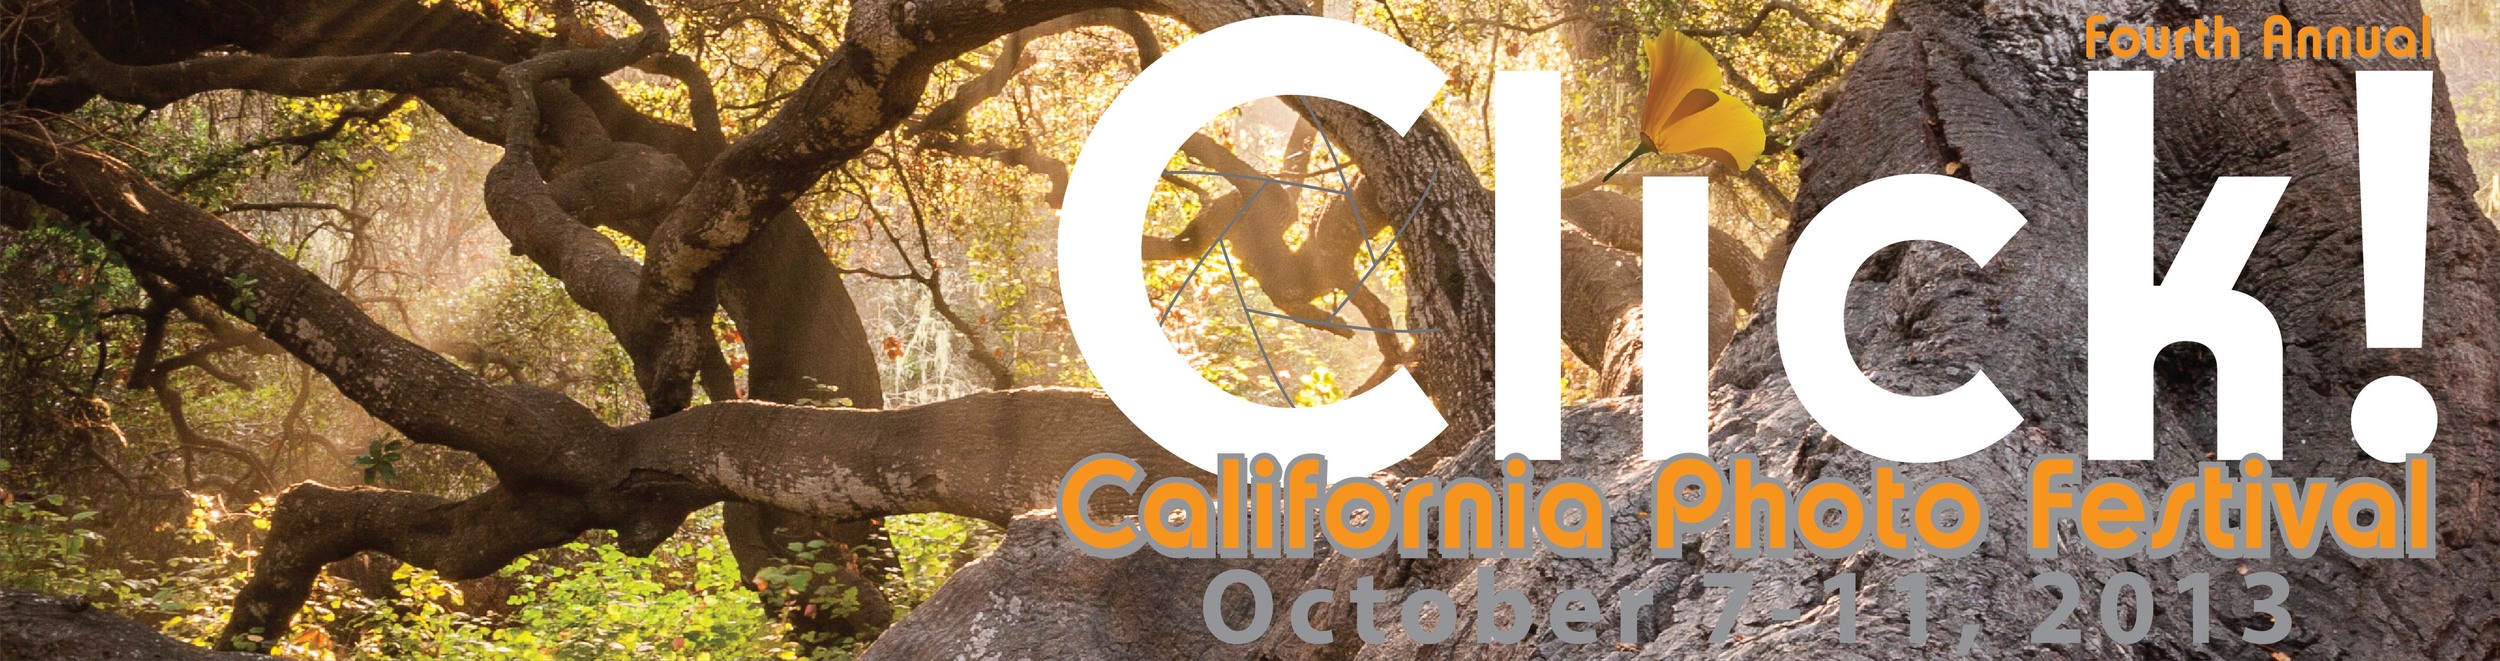
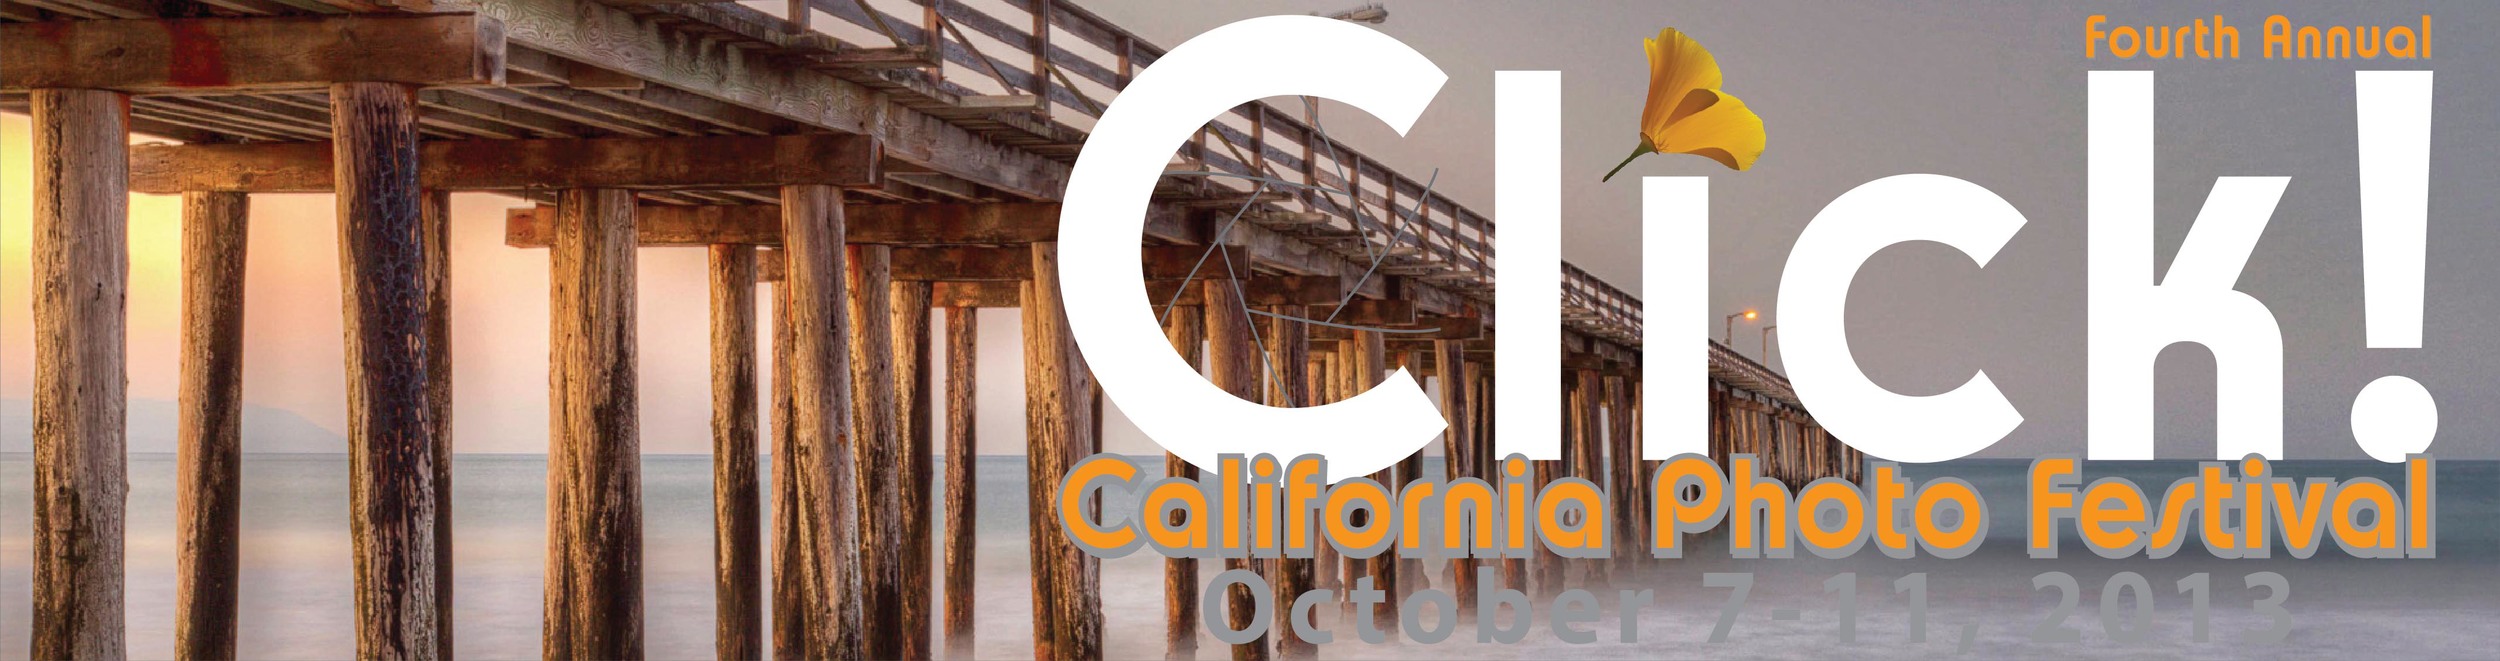
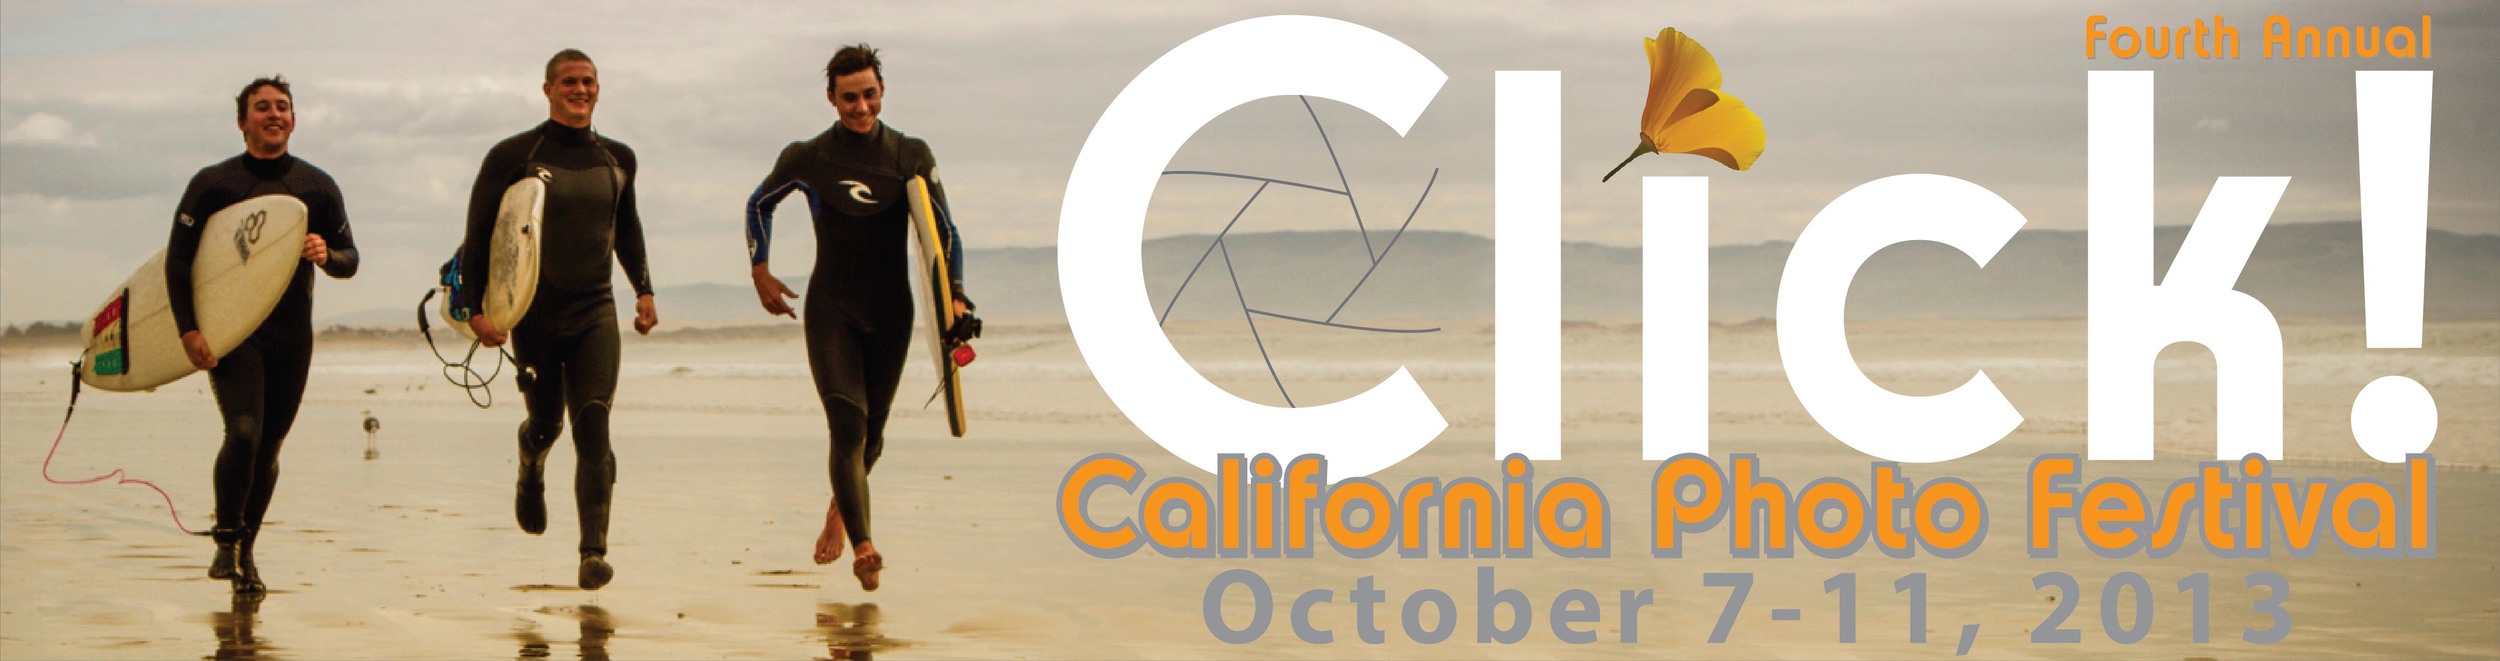
CALIFORNIA PHOTO FESTIVAL
October 7-11, 2013
October 7-11, 2013
1, 2, 3 or 5 day passes available
California Photo Festival's fourth annual event is five excitement filled days of hand-on digital photography education. We offer the most amazing "classroom" around, California's exquisite central coast. And instructors include the best of the best, who will be right beside you showing you how to get that perfect shot. You will go home happily exhausted with a head full of knowledge, an external drive full of beautiful images and a heart full of inspiration. Plan your vacation time now and come join the fun!
Check out our SmugMug gallery of last years images HERE.
Today I was doing a search online for something totally unrelated to the festival and ran across this blog post about last year's festival. The lovely and sweet Karen Nace really gives you a good idea of what goes on at the festival. Check it out HERE! And while you're there, check out the rest of her blog, she's quite the photographer.
The $5 Photo Accessory (that could save your life)

As nature, landscape, and wildlife photographers we often place ourselves in locations and situations that are a bit off the beaten path. When we do go out to make photographs it is worth thinking a little about possible contingencies and how we will handle them should something occur. As the most basic precaution, I consider one of the least expensive pieces of gear a photography essential, the simple whistle.
In our modern society, we tend to take our safety or our ability to rapidly communicate for granted. Sometimes that is the case. For example, if you are out with me you know you are with an instructor who is certified in CPR and first aid, has had extensive survival training, and handles high stress situations well. More often though, most photographers think if they have their cell phone they are ready and help is just a call away. But it is amazing how often we find little to no cell coverage, a dead battery, or a situation where the phone is just out of reach.
As a pilot, I learned to plan for contingencies and to prioritize redundancy in safety or communication systems. To back up your phone one of the simplest preparations you can make is to carry a whistle when you go out to make photographs. Survival situation after survival situation has proven that a whistle is a "must have" piece of gear. Look at any list of items you should have in the field or wilderness and a whistle will be on it. Oh by the way, it is not enough to have the whistle with you, have it on your person and easily accessible with either hand.
Photographers in the field are just like hikers, campers, and other outdoor enthusiasts. Interestingly, they tend not to think of themselves as such because our hobby, passion, or profession is so dependent on high tech gear. But in most cases there is no difference. As an example, Hal has a friend in Alaska who recently almost lost his life while out in the wild. Overcoming incredible odds he was rescued and recovered, but only because of his whistle. He was in a bad position and the only way he could try and find help was to blow his whistle. He blew for over an hour and finally someone heard and investigated. They joked afterwards that his whistle was the $2 accessory that saved his life. Pretty amazing considering the guy had thousands of dollars of other gear with him. It is also worth mentioning that Hal's friend broke one of the cardinal rules, he went out alone without using the buddy system (the topic of another post.)
So when you are packing up the camera, lenses, and tripod, make sure to put a simple whistle in your pocket. If you ever run across him in the field, ask Hal to see the four essential pieces of shooting gear: Hoodman HoodLoupe, cell phone for DOF calculations/comms, a good knife, and a whistle.
Always remember making the photograph is optional but making it home is mandatory. (Paraphrased from my mountaineering buddies.)
Fiat Lux!
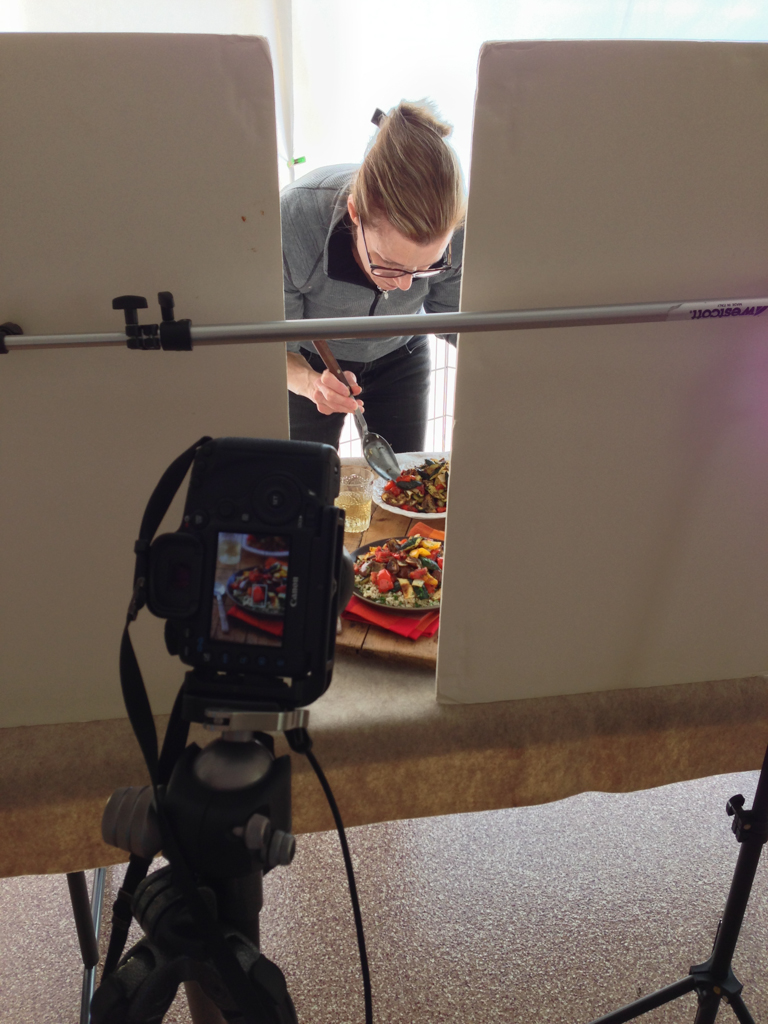
Guest Blog! 5 Food Photography Tips
by Kent Cameron
Food photography has never been more popular. The interest in food and sharing food experiences have been driven by digital cameras, food blogging, Facebook, Pinterest, e-books, cookbook self-publishing and media like Food Network, which have all helped to fuel the food trend.
Following that trend, several years ago my wife, Sally, a professional chef, decided to create a food blog called, A Food Centric Life. She asked if I could use my photography skills to take some shots of her food. I quickly learned that creating great looking food images has its own special set of challenges.
Whether you are a photographer wanting to add food to your portfolio, a cookbook author, a blogger, or anyone interested in shooting food, here are a few tips from my food photography journey that may be helpful in your journey…
Tell a Story
When we prepare for a food shoot, we talk about the story first. The story may be about enjoying some crème brulee and espresso at a bistro in Paris, or grilling burgers in the park for a picnic on a rustic table, or something very simple.
Ask yourself what the food or recipe means to you? Does it have meaning in your life? What is the setting? Is it a holiday, a seasonal dish, a family favorite? What props, colors and textures are involved? How will you tell that story to the viewer with your image?
Direct the Light
Look for light that has direction. It can be light through a window, or doorway. We often shoot food in our garage with the open garage door creating a large space with directional light. Or, we create directional light using studio lights when natural light is not available.
Set up the shot so that the light is coming from behind or from the side. Think about light direction like the hands on a clock. If the food is at 6:00, backlight is 12:00, and side light is 9:00 or 3:00. Lighting this way creates depth and interest in the food. Never light food directly from the front, and absolutely do not shoot food with a flash mounted on your camera.
Diffuse and Reflect
A common mistake is to over light food images. Once you have created a scene with directional light, then can decide how much highlight and shadow works for the shot. Use a diffuser to soften the light and control highlights. Not all food images use soft light, but it works great for many.
Use a reflector to control the amount of shadow. We use pieces of basic foam core board that you can buy at any art supply stores as a reflector. Position the foam core opposite the light. Use white foam core to reflect light and brighten the shadows, and black foam core to take light away, creating deeper shadows. It's amazing what you can do with your food images by just experimenting with reflectors.
Work the Composition
Amazingly subtle changes in your composition can make or break your image, so really work your shot angles, direction of the light, placement of the food and props in the shot. Use the composition rule of thirds and avoid placing food dead center in the frame.
Style the Food
The job of a food stylist is to make the food look its best for the camera and create direction or flow of movement for the eye. Unless you are working a well budgeted food shoot, likely the food stylist is you! I am fortunate that my wife, Sally, is a chef so preparing and styling the food is her department.
Buy top quality food and ingredients. You want beautiful food for beautiful food photos. When styling, think how you can create movement in the image. Add a flowing napkin with complementary color, for example, or maybe a utensil. Think about how you can add textures and create lines that draw the viewer's eye into the food scene.
Learn More about Food Photography
Kent and Sally Cameron work as a team, blending their love for great food, photography, and teaching to produce beautiful images that inspire and educate people about food.


California Photo Festival Photo Contest Winner!
Congratulations, Barbi Kutilek!
Out of the hundreds of awesome photos that came from our Third Annual California Photo Festival we narrowed down our top photos. From that selection we chose one deserving winner who has won a free Gold-Week Pass to our Fourth Annual Festival October 7-11, 2013.

California Photo Festival Photography Contest Winner Barbi Kutilek www.Imagesbybk.com
Here is the gallery link to our TOP 50 California Photo Festival images from 2012 in our SmugMug sponsored Web Gallery. Thank you SmugMug for your continued support! Our past festival photo galleries there as well if you'd like to take a look while you're there!
About the California Photo Festival:
Also known as CLICK! our annual California Photo Festival was launched in 2010. After years of prep and planning with inspiration from our guest instructors we invite to teach here at LIGHT Photographic Workshops throughout the years we were excited to offer our students and friends in the industry something new and unique. Beyond the 5 days of awesome photo-ops and now over 170+ sessions scheduled (in 2012) this is an event that is for those who have a passion for all things photography and enjoy the learning process to create good images. We design our schedule from sunrise to night photography with hands-on shooting sessions, digital workflow seminars and sponsored presentations. With a wide range of topics from landscape black and whites to Playboy style shooting and lighting techniques to horses on the beach at Morro Bay, we allow our attendees to sit in on sessions and classes they wouldn't normally find themselves taking a workshop or class on. It's a way for us to help you grow as a photographer, artist and professional grow and experience the best in the industry and have fun in the meantime!
Ric Sammon on his festival Photo Walk
This year our dates are October 7-11, 2013. We will center the festival at Embassy Suites in San Luis Obispo but our venues include spectacular areas around the Central Coast. With such a wide area of SLO county land to chose from, we are growing and diversifying our venue list every year- while still keeping the classics around. We plan to launch our schedule and websiteregistrations Mid-April so keep a look out for the announcements and make sure you register early to get the classes that fill up quickly! Just wait until you see who we have coming this year!
See you in October!
-The LIGHT Team
Break OUT!
Print Testing and Breaking Out of Your Normal Box
by Victoria Schmitt
A couple of weeks ago LIGHT hosted a printing class featuring Hal Schmitt which I was able to assist. One of my favorite things as an assistant is being able to help people with their images. With small tricks of the trade in Photoshop or just being able to help someone to think outside of their normal processing workflow will sometimes give people that “ah-ha!” moment to go forward with at home.
Here is how I helped our students once they thought their image was “print ready”.
1. Do one more dust spot check. I like to blow the image up to 100%. Choose the spot healing brush tool (yes, there are 20 ways to everything in Photoshop and this is just one of them) and with the hand tool (hold down the space bar) jiggle the image a little bit as you pan across the image on your screen. Some people like to use page and page down- which is fine, just make sure that you are still “jiggling” the image. It helps those inconsistencies jump out to your eye.
2. Pan out to view the entire image on your screen. Does anything jump out to your eye in a negative way? Is there a light or dark area that fights the direction of your eye when you look at the image? Sometimes I find that I need to print out a test print to really see what the image is doing to the “viewer’s eye”. I’ll sometimes look at the center of the image or the area where you want your focus brought to. If your peripheral vision in the image catches a shape, tonal change or area that pulls your focus away from where you want it then work on that to “remove the shape” (usually a stick or object that could other wise just not exist), tone down your bright areas or crop out parts closer to the edge that keep the image from appearing complete.
3. Start with a small test print (8.5x11). This shows blatant areas that need attention, global tonal needs, and it also tests you to make sure your print settings are correct.
4. Print the next size up: I go with 13x19 paper size. This usually starts to show you more missed spots, more chromatic aberration color shifts and gives you a better idea of where they eye wants to move.
Something else you should consider about images that might just not feel right to you is trying the image in black and white. I had a student whose style screamed black and white and she had no idea until we tried it out. Her color versions didn’t have much of a pop or wow factor because my eye was trying to process the texture, movement, shape and color. Sometimes the best thing for your images is to simplify. Maybe you took that photo because you liked the texture, the lines, the movement and the subject…but you start processing color as well and your brain can get confused and wants to move on. Working on those images can make you frustrated!
This is when I will sometimes give myself shooting or processing assignments to release my brain from the usual workflow and give it something new to concentrate on. Go back to the images you have already shot and decided not to process. Ask yourself “why didn’t I process that image?” and go to town with it! Change the hues, crop it down, try it in vertical and horizontal! Go to Lightroom and make a few virtual copies, create 5-6 different versions and see if there is anything about that image that you like. If those 5-6 new versions don’t do it for you- delete it and save your hard drive space!
There is no right or wrong answer when it comes to YOUR work. Experiment to see what you like and see what works and what doesn’t. The next time you go out to shoot, keep those lessons in mind so you know what you’re going to work on later. You will become a more efficient photographer when it matters and more fun when you process.
Impromptu Flash Accessory for Holiday Family Portraits!
Packing for a Christmas or family holiday trip can be a bit hectic...sometimes you might even forget a modifier for your Speedlight.

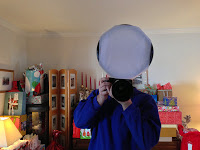
Hal scooting with his homemade modifier.
Now what you are about to see is what we like to call "bush league" but the modifier/soft box works extremely well and you can definitely find the materials at grandma's house! Depending on the size of your flash you can also create any size you want.
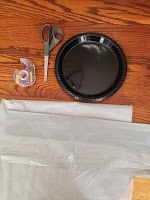
For a very simple modifier here are the items you will need:
- 2 plastic or paper plates (you can choose dinner plate size or a dessert platter depending upon the size of your flash and the "softening" power you want)
- Gift box tissue paper (white is most most versatile but a colored tissue will be just like a colored gel)
- Tape
- Scissors
All of the pictures below show the entire process. Start by cutting out the inside or flat portion of the plate. Try to keep as much of the cut out portion because you will use it later in the process. The ring you are left with is the frame for the modifier.
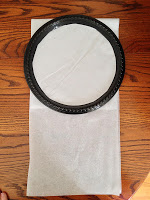
Cut or fold the tissue paper into a square about the same size as the frame/ring. One piece will do just fine but if you want to make the light more even, add an additional layer or two. It is always a trade-off though when you add layers. The light becomes more even but you will lose more of the flash's effective power. For example, when I made this example, I used four layers of tissue and lost approximately 2.5 stops of light.

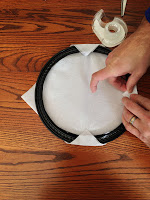
Tape the tissue to the frame. You can get all "gucci" with it but I used four pieces and have a nice, tight surface.


From the cutout portion of the plate, fashion a rectangle or two. Put onto the end of your flash to act as an attachment collar.
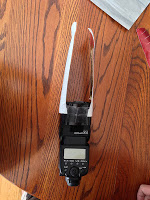

With the other plate cut out two rectangular supports. Tape one end of each to the attachment collar on the flash. The final step is to tape the supports to the plate/modifier. When you put the flash on your camera, I like to change the zoom to Manual at about 50mm.

Simple but effective. When we talk about light's quality of being either hard or soft, the only factor that matters is the size of the light source relative to your subject (this is, of course, controlled by the size of the light source and the distance from the source to the subject.) The bare surface area of the flash is @ 3.7 square inches. After adding the "bush league" modifier the surface area is @64 square inches. That is an increase of 17X. One of the biggest issues with many modifiers is they do not really change the surface area by that much. But 17X? That is effective!
Another nice feature of this homemade version is it is extremely light. Whenever you add an attachment to your flash, always consider weight. If the modifier is too heavy or has a lengthy moment arm you can easily damage your flash.
The Test Shot
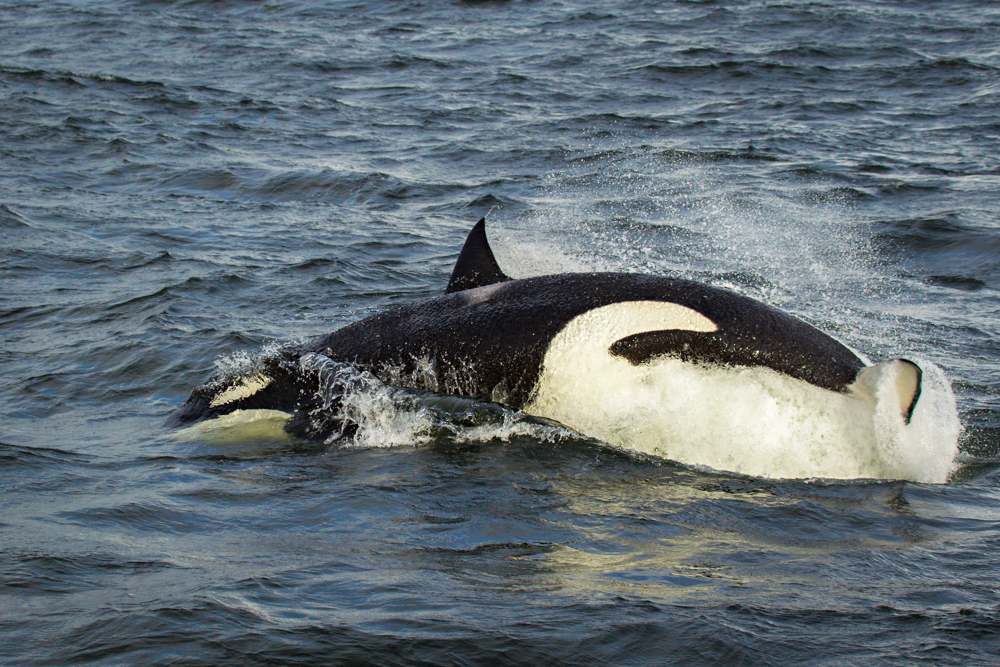
Killer whale attacking a Steller's sea lion
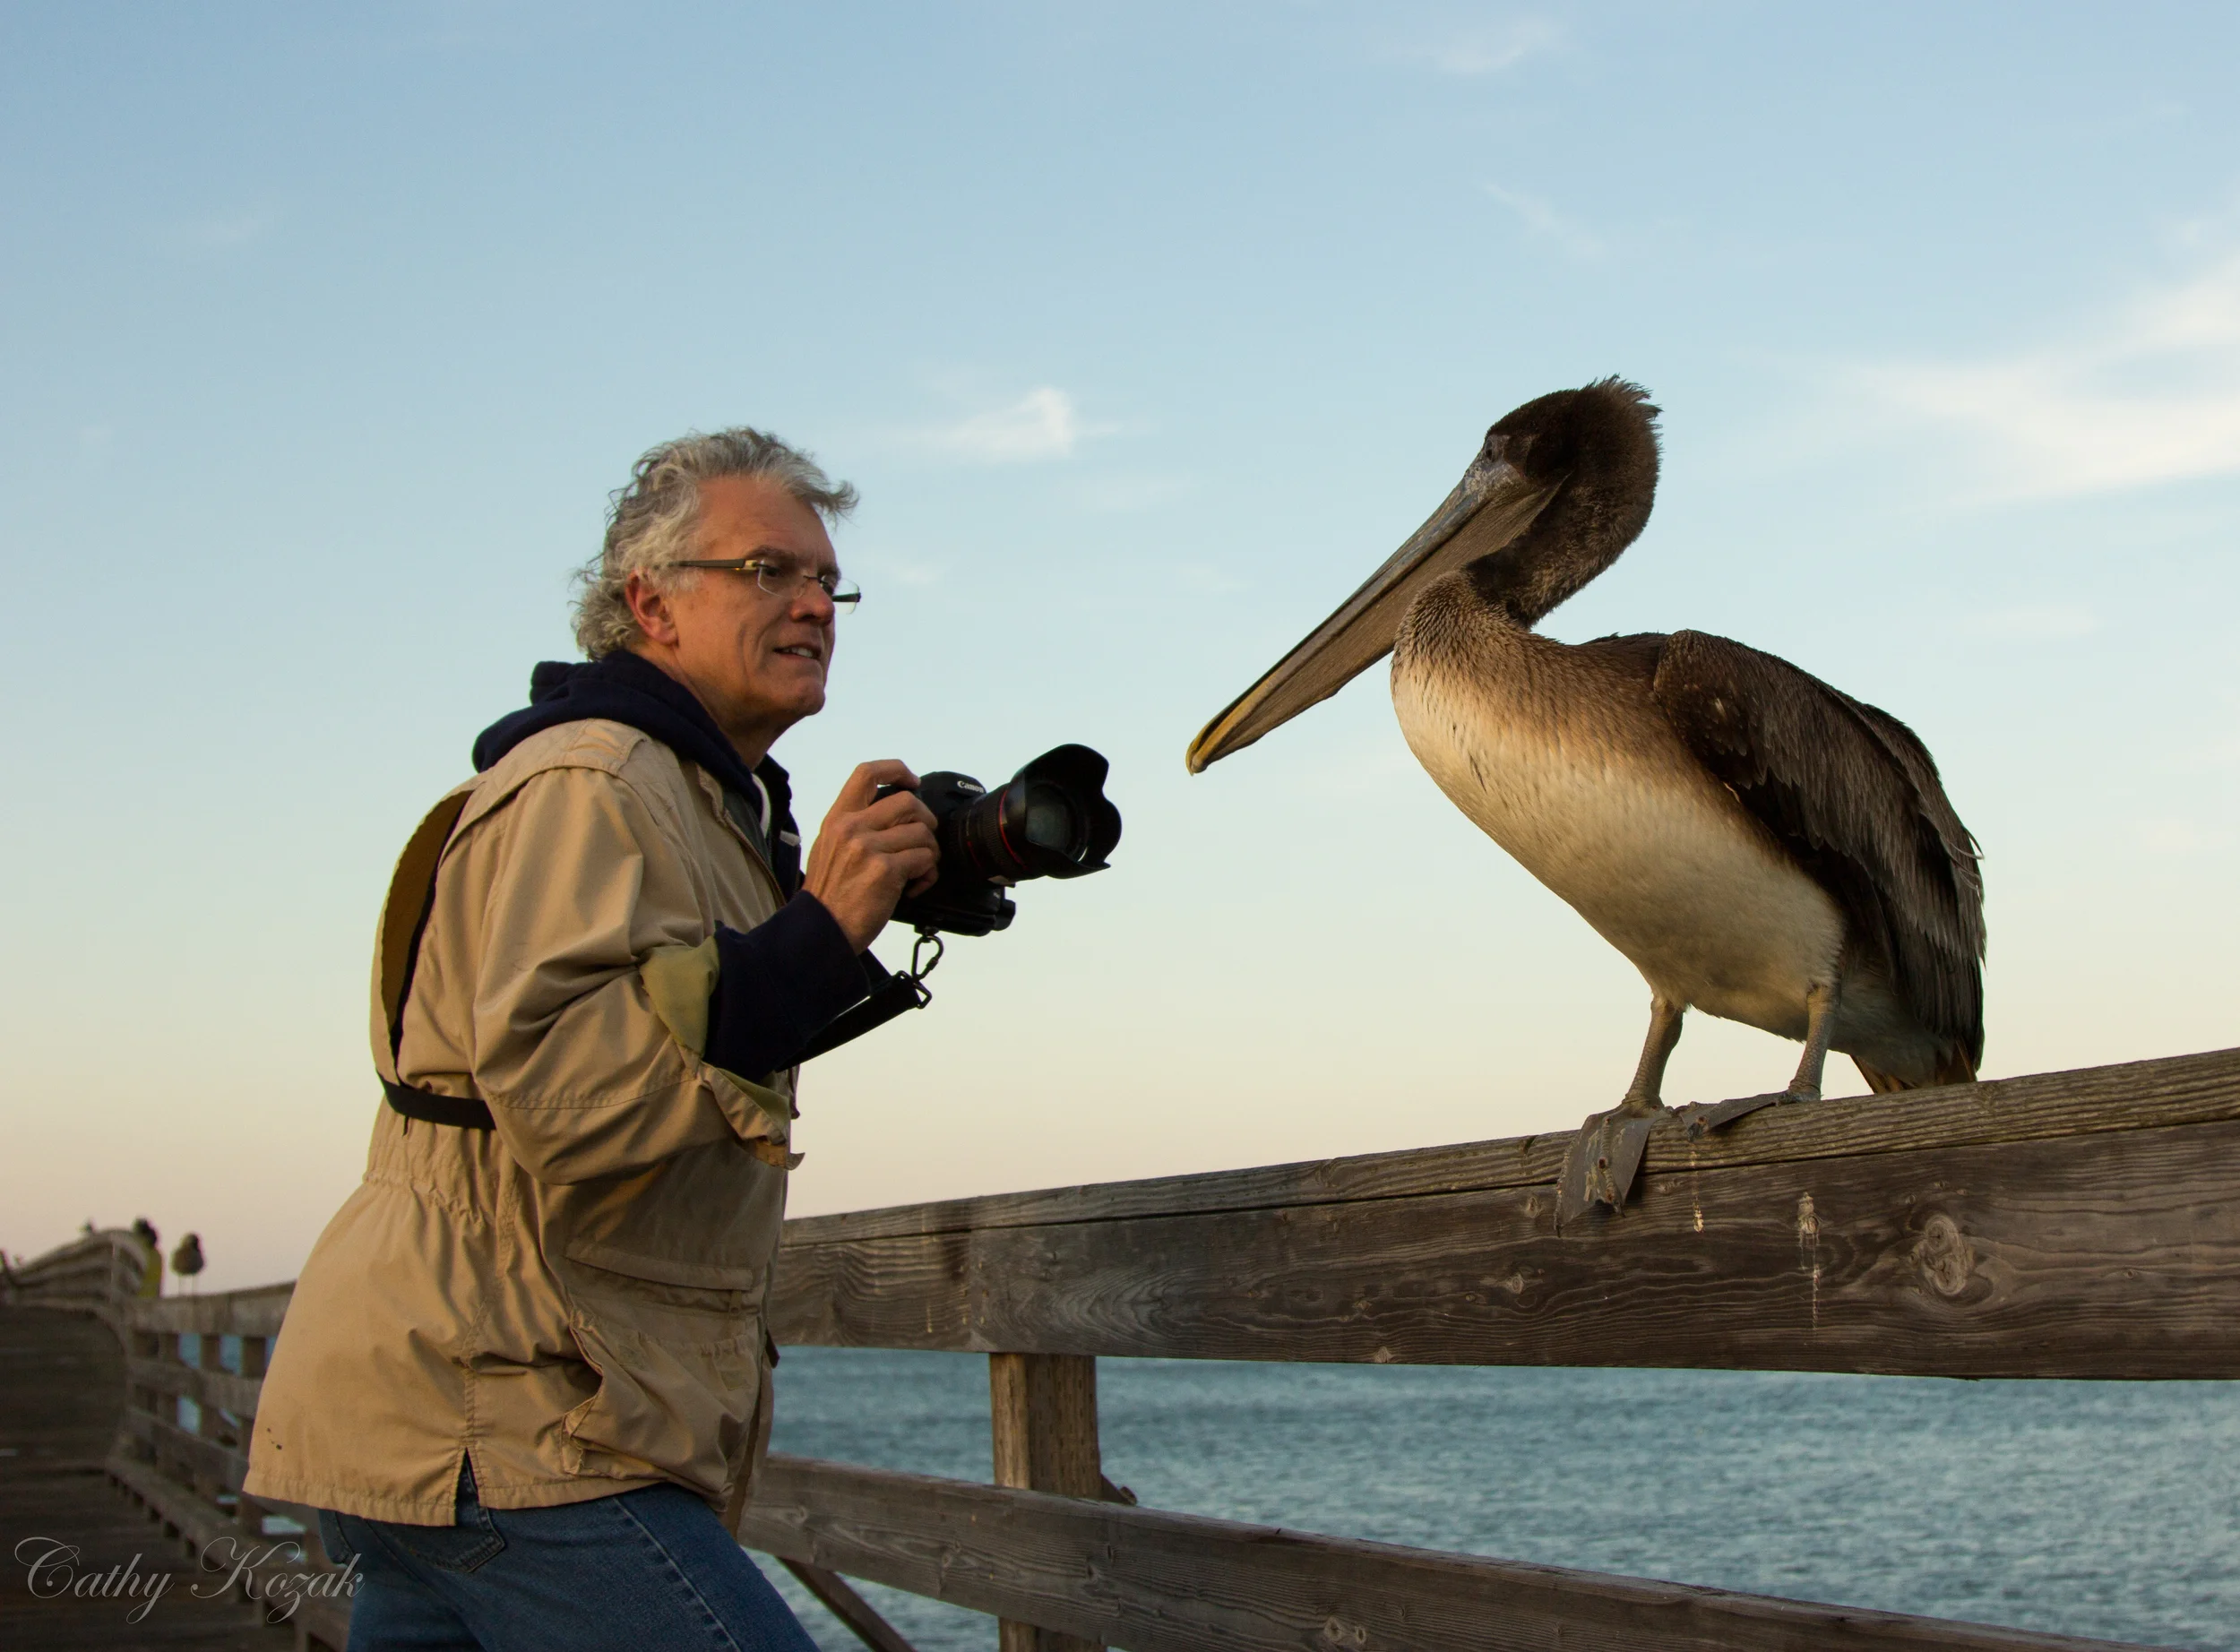
There are many shots that require you to react extremely quickly in order to capture what you want such as these whales I photographed during one of my Alaska workshops. One of the most successful techniques you can use is what I call the "test shot."
The test shot has two primary objectives, exposure and rough focus. When taking a test shot your actual subject is usually not in the frame. For example, these whales break the surface in less than a second and if I wait until the subject is in the frame to find exposure I will be less than successful most of the time. If instead I anticipate where the subject will appear or what the event will look like, I can figure out exposure ahead of time very easily. I can also pre-focus so that the precision focus process is much faster once my subject is in frame and my auto focus sensors are properly placed.

A humpback whale going for it in front of Devil's Thumb
When you make a test shot, it is often times not adequate to set exposure based on the environment/background. You need to anticipate what will drive the exposure. For example, in all three whale shots the critical elements are the white water and the white fins/body. If I make a test shot of just the water and set exposure without considering the extreme tonal difference between water and white water/whale, I will, most likely, blow the highlights in the shot. When I made the test shots for these images, I set my exposure based on white not on the water/background. You can use rules of thumb to underexpose for the predicted highlights but I prefer actual meter data, when I can get it. In these examples, I changed my camera's metering mode to Spot and then I set exposure off of something white. I actually used the boat's wake but a white sheet of paper would work as well. As long as the white is under the same lighting conditions as my subject, my exposure will work perfectly.

.1" earlier
This process is simpler when shooting in Manual exposure mode but can be used with Aperture or Shutter priority and auto exposure lock. Once I have my exposure, I pre-focus to the expected subject distance and take a test shot and evaluate. With my exposure and pre-focus set, I am much better prepared to quickly execute the actual shot when the action occurs.
I use test shots all the time to give myself the advantage when something might happen and my reactions have to be perfect. When I am out photographing, people find it odd that I am shooting every now and again at what appears to be nothing. But my "strange" behavior pays off. If you stack your deck ahead of time you will enjoy success in a more consistent and repeatable manner.
Fiat Lux!
Long Exposures in the Midday Light
It is difficult to imagine that in a day when all photographers are pushing the manufacturers for higher and higher ISO that at the same time there is a need for lower and lower ISO. The truth is I enjoy shooting 30 sec and longer exposures during the daylight hours. There is no way to reduce the ISO low enough to create such long exposures while the sun is up.
The only way to create this long shutter speed is with the use of neutral density filters. If you’re like me and want to attempt this very cool look, I recommend the new Lee ND filter called “The Big Stopper”. This filter requires their holder but offers 10 stops of density to help you create those long exposures.

Before Filter

After Filter
Life is short, take pictures!
Marc Muench
High Angle Shooting Tip!
By Rob Sheppard
Did you ever see the photos of Ansel Adams standing on top of his car? He had a platform built that allowed him to set up a camera and tripod on his car to gain some height. A challenge we often face when photographing landscapes is that we are too low. Too low means we have to shoot through foreground stuff that is distracting or we can't get a good perspective on the scene. We can't get above important objects so they become truncated and we cannot show their real relationship with the scene.


The obvious answer is to get higher. You can see the difference in these two shots from Death Valley showing a creosote bush in the Eureka Dunes area. You would not think that the main bush is the same one! The first shot is from a high camera angle, whereas the second one is shot from standard tripod height. The first shot gives an interesting foreground to background relationship that shows how the creosote bush fits into this landscape. The second is hardly worth considering because the bush is too high in the landscape. (The green of the creosote bush is better in the first image because I used Viveza 2 on that image, but not on the second.)

So how did I do this? Did I drive a truck onto the dunes? Bring a big heavy ladder with me? Nope. I used my tripod, but in a unique way that works very well with digital photography.
I extended the tripod legs to their max, then brought them together. I set the self-timer of the camera to 10 seconds, set up my exposure and focus appropriately (in this case, aperture priority and auto focus), pressed the shutter, then hoisted my camera on tripod over my head. I held it until the shutter released, then brought it back down.
The great thing about digital for this technique is that you can instantly see what you got and make revisions. You may need to hold the camera straighter, aim a little higher or lower, and so forth. In just a few shots, I had my shot. (I did have to do some minor cropping for a slight straightening -- it can be hard to get the camera perfectly level when doing this, but then the Crop Tool in Lightroom makes this easy to fix!).
Obviously, you have to watch your shutter speed doing this or risk unsharp images due to camera movement during exposure. With a wide-angle lens, you can shoot at a slower shutter speed and still get sharp images, though this is inherently an unstable camera position, so you can't go too low. With a wide-angle like this, it is easy to use f/8 or f/11 to allow a faster shutter speed, plus I will use a higher ISO as needed, too.
So the next time you are in front of a landscape that is giving you problems, try hoisting your camera overhead! It can be worth a try just to see what the landscape looks like from up there.
This last picture includes a shadow of me hoisting that camera overhead to get some unique views of the tufa formations at Mono Lake that actually show Mono Lake as part of the scene.
-Rob Sheppard
www.robsheppardphoto.com
blog at
www.natureandphotography.com
robsheppard@earthlink.net
David Wells on Travel Photography Tips
Guest Blog by David Wells

David Wells, one of our leading festival instructors at the California Photo Festival this year gave us a great article on something a lot of travel photographers have to go through. We hope you enjoy and come to learn more at his sessions in October!
I work a lot in the developing world, partly because my wife is from India. Before we met, I was also working a lot in the nether-reaches of the globe because personal projects and paying work took me there.

A friend just asked me if I had any tips he could incorporate into his working process as he heads off to Mexico. The challenge for me in writing this blog was not coming up with advice but rather with figuring out how to explain those things that I do almost automatically when I am photographing in places like India, Guatemala, Vietnam or Turkey.
Half of the preparation involves gear, planning and other logistics which is the easiest to define and write about.
The other half is about attitude and behavior.
In some ways it is more important than the gear issues, but it is also harder to define and then write about.

First, get camera insurance. Make sure it covers you around the globe. Be careful about add-ons to your current home owners insurance. The first thing your insurance company will do if you file a claim is google your name and see if you are a professional. I did just that for the friend who asked the question that prompted this blog. Sure enough, he shows up in Linked-in as a pro so.... The insurer will then point out how 99% of all policies do not cover pros and then you are stuck. I have blogged on The Wells Point about the types of insurance you should carry so I will direct you to that.
I have seen many people who put black tape or use a black marker to cover the name the camera. I don’t actually do that. I would get rid of the screaming logos on the camera straps. I would encourage you to do that and get straps that are as supportive as possible. I have blogged about why I use Black Rapid straps, which is simply because they solve my particular set of problems. I tend to walk with two cameras, one on each shoulder. When I am moving they are usually pulled together with one hand so they gather in front of my gut. I use a kind of a fanny pack but it is always turned in FRONT, not in back. I usually wear some simple cotton shirts that I have custom made in India. They are thin cotton which helps in the hot weather. They are also extra wide at the waist so they can easily be pulled over the fanny pack. When I am in “stealth” mode, I look extra wide (fat) but much of my gear is hidden away.

As I am walking I usually turn the lenses inward rather than outwards. I do that as much to avoid hitting things as to prevent problems. Also, kids LOVE to touch shiny lenses, so having them turned in keeps the lenses finger print free. I stay away from lens vests or anything else that screams pro. I work very hard to look like a round middle aged Western tourist. I frequently use a pair of simple canvas/cotton bag that was a gift from my mother in law. Putting one inside the other means I have one main pocket and two side pockets. I have a huge advantage over many people in that I use smaller simpler cameras, my Olympus OMDs. If I had something like a Canon 5D or one of the giant Nikon DSLRs I am not sure what I would do (except maybe buy a smaller camera for traveling.) You can read about my general travel and image archiving approach at BHPhotoVideo Part 1 and BHPhotoVideo Part 2

After the question of gear is the issue of dress. If you are not appropriately dressed, you may feel uncomfortable. If you fell uncomfortable, you will not be as successful in your photographing. I would avoid plunging necklines, bare shoulders and clothes that are too tight or short. At my mother in-law’s house in India, anything goes.
I usually wear shorts inside, but I am careful not to dress inappropriately when I am out walking on the streets. There people will stare, especially at foreigners, doubly so foreign women. Think of it this way, if you want to connect with people it makes them more comfortable to wear clothes that are not too different from what they know. Because some of the streets are a little gross, I have taken to wearing the newer sandals which can be hosed down if I step into something less than desirable.
I use two cameras for many reasons, including the fact that changing lenses or flash cards takes a lot of concentration so I try to avoid doing that in the middle of a public place. Two small cameras, like the Olympus OMDs generates some curiosity, but not as much as a 5D with a giant lens and an even more threatening lens hood. I would definitely lose (or minimize the use of) the giant butterfly lens hoods, especially on the longer telephoto lenses. Those are threatening to people on the other end of the camera and they suggest “pro” to a potential thief.

The key to working in the developing world, in my experience is what is often called “situational awareness.” Obviously it means being aware of what is going on around you, both in terms of things to photograph and potential problems. While I am constantly looking around to see what is happening, I also take clues from the people around me. The classic example of this is when I am doing night photography I will photograph in a night market until it starts to empty out. When the locals go home, I do as well. Similarly, when the locals step back because a loud, drunk or annoying person is coming, I follow their lead.
I never use an iPod or any kind of music player when I am working. Never. There are too many things going on around me to pay attention to. Zoning out with music is the surest way to get into trouble (or just miss great picture.)
My first step when something looks like it may go wrong is to make eye contact with the person in question. 99.9% of the time they are curious, want to be helpful, want to sell you something or are begging. I see them, they know that and that gives them pause. I try to smile too. It makes a world of difference. Usually that is enough.
The next step is to subtly turn my body so as to block them and protect my gear. After that I pull all my gear in closer to me. The last step is to move on to another location. No photo is ever worth the potential safety issue so, I move on and to date I have been very, very lucky. The process of extracting myself from a situation that I am unsure of usually means nothing more than stepping out of the situation, ideally so I end up with my back against a wall.

I pause, reassess the situation and most times I will dive back in.
Again, I always make eye contact with the people involved, smiling as much as I can.
India is one place where people’s faces seem to default to what looks like a scowl but as soon as I smile they usually warmly smile back. With my back against a wall I also might pause to change lenses or flash cards but again, by having two cameras I can usually avoid doing that. Keep in mind that over 90% of crimes are what are called crimes of opportunity, which just means the criminal sees an opportunity and acts.
If you make eye contact, they usually move on. If they see that you are confident, mentally present and have high situational awareness, they will skip you. Mostly they will look for the next fool who is daydreaming and that person will (sadly) become the hapless victim. In that horrible situation where your are directly confronted with a weapon and obvious harm, I have been told over and over give up the gear and not argue, even for a moment.

That is the plan that I hope I will be disciplined enough to stick to if that ever happens but....
I was recently photographing a street food stall selling piping hot Kebabs. After ordering and eating a portion (mmmm) I spent about 45 minutes there photographing and making videos. During that time, I showed the back of the camera to at least half a dozen people so they saw what I was doing. I also made instant Polaroid Pogo prints for the three main subjects I was photographing. I made eye contact with a couple dozen people, most of whom were curious (and harmless.) One kid got too close to my camera so, after making eye contact and waving my hand telling him not to touch my camera and he persisted, I gently pushed his hand back. By the time I left, the entire group (the workers and the customers) were having a conversation and a good laugh at the crazy American. The Kebab tasted great and I had supported their business. The video and stills were equally good. They felt as if I had treated them respectfully. All my gear was intact. It doesn’t get much better that that.

Continue your travels with David here at the California Photo Festival October 10-14 where he will show you how to study the light, create as story with your images and improve your photography success stories!
Thanks David!
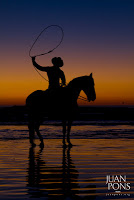
Top 10 Sunset Tips- By Juan Pons

Juan Pons, one of our guest instructors at the California Photo Festival this year, specializes in nature wildlife photography and also co-hosts with Rick Sammon on a Podcast and Blog http://dpexperience.com website. Here he is this week with a great list of his favorite sunset tips you'll be learning hands-on this October!
One of the most popular shoots at the California Photo Festival is the the sunset shoots at the beach, so I thought it would be good to review the top 10 for shooting sunset scenes:
1. Include foreground elements in the scene to add depth
2. Don't stop shooting after the sun goes down, some of the best shots are made after the sun goes down
3. Don't center the horizon on your shot
4. Stop down to f/16 or smaller to create a starburst effect with the sun
5. Meter away from the sun
6. Look for reflections on the water
7. Under expose to saturate the colors, and/or set your White balance around 9000K to saturate those sunset colors even more
8. Think about using a slow shutter speed to add some motion to the scene
9. Work your silhouettes
10. Take the filters off your lens to avoid image ghosts
Bonus Tip: Always have fun.


Digital Photo Experience Interview with Hal

Rick Sammon in "The Suit"
Hal on the Digital Photo Experience with Rick Sammon and Juan Pons
Check out the new podcast from Rick Sammon and Juan Pons over at the Digital Photo Experience; great information and a fun interview with Hal.
Fiat Lux!
Think Wide-Angle & Macro
Guest V-Blog with Rick Sammon: Think Wide-Angle and Macro

When you want to shoot close, shoot with your macro lens and your wide-angle lens. Sometimes, the wider the better.
Gear: Canon 5D Mark III
Canon 15mm lens
Induro tripod and ball head
Black Rapid strap
Explore the light,
Rick
Landscape at f/4? Know your DOF
I am a huge believer in understanding and practicing the basics and the fundamentals of photography. Moreover, it seems most difficult tasks in life, including photography, come down to how well can you execute the basics. To that end, I would like to discuss one of the most common practices I see in the field when shooting landscape, stopping down for no reason.
The conventional wisdom is to stop down when shooting landscape to increase depth of field (DOF). Although stopping down does increase DOF it is not always necessary to do so and may, in fact, hinder your ability to make the best shot.
DOF can be an incredibly complicated and confusing topic but it is worth spending a small amount of time talking about the primary contributors to DOF. Most photographers are taught that DOF is controlled by aperture; the wider the aperture the shallower the DOF and vice versa. What is not commonly taught are the two other primary variables that influence DOF, focal length (of the lens in mm), and focal distance (physical distance from shooter to focal point.)
Just as every photographer quickly memorizes the aperture/DOF relationship they should do the same with focal length/DOF and focal distance/DOF. So a little homework, memorize the following.
- The wider the aperture the shallower the DOF
- The longer the focal length the shallower the DOF
- The shorter the focal distance the shallower the DOF
and the opposites
- The narrower the aperture the deeper the DOF
- The shorter the focal length the deeper the DOF
- The longer the focal distance the deeper the DOF
One of the best ways to see these rules in action is to use a DOF calculator and play around. If you want to go "old school" there are "whiz" wheels out there to show the relationships. But since this is mid 2012, I recommend finding a DOF app for your smart phone or device. There are a huge number of these apps available just search for "DOF calculator" and download.
After playing with a DOF calculator app for just a small amount of time, you will be amazed how quickly you learn the rules and begin to visualize constructing DOF for every shot you take. When you know the rules and relationships of DOF you will approach your shots from a position of knowledge and you will, most likely, modify some of your accepted habits and practices. You might even decide to take your DOF calculator app with you on location and run some numbers before you shoot. I do not think you will do this all the time but if you need some intel, back up, or encouragement break out the app and "run the numbs."
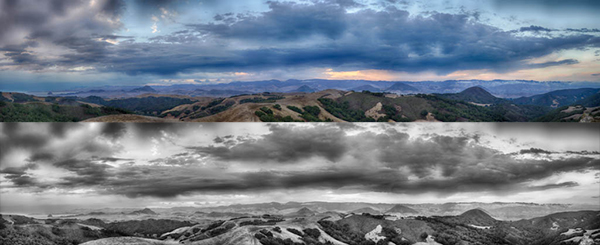
Recently, I shot some landscape in Alaska and used my understanding of DOF to shoot handheld landscape at f/4 with everything in the shot acceptably in focus. This goes against the conventional wisdom but it worked perfectly. The shot I ended up with is shown below.

For this shot I used the focal point shown @1000' from me, 43 mm focal length, and an aperture of f/4. I shot a bracketed series for HDR and did it handheld as my tripod was not available.
If I had followed the conventional wisdom I would have stopped down to f/16 and would have had the situation shown below.

f/16 would have given me plenty of DOF but a shutter speeds of 1/60, 1/250, and 1/15. These are, of course, too slow for my handheld situation. I could have increased my ISO to yield faster shutter speeds but I did not want the additional noise, especially when shooting for HDR.
Instead of changing ISO, I changed aperture and opened up to f/4 which gave me the situation shown below.

f/4 also gave me plenty of DOF and shutter speeds that I could work with hand held. Because my focal length was 43mm with a focal distance of 1000', changing aperture did not have an appreciable effect on this shot's practical DOF. As a result, the entire shot is acceptably in focus, even the foreground as it is greater than 52' from me. Sure f/16 gave me 38' more DOF but it was irrelevant.
Now there will be times and places this does not work but if you understand the basics you will recognize them quickly. When you do you will find the solution and make the shot work.
More on this topic next time.
A Great Lesson from Food TV's Good Eats

I watch a show on The Food Network called Good Eats. The host is Alton Brown and he discusses a large amount of cooking gear and equipment (in addition, to delivering amazing food facts and cooking techniques.) The consistent thing about Alton's gear recommendations is he loves equipment that can multi-task. Why have a piece of gear that can only do one thing. If that is the case, to do three tasks you need three different items. With multi-tasking, one piece of gear does all three jobs.
If you do a lot (or even a little) travel photography the concept of gear "multi-tasking" is hugely important. In the ideal world it would be simple to take all of your gear everywhere. There would never be carry-on limits, space or weight issues, and we would all have our own photo Sherpa. In the real world, we are often forced to take fewer items in order to meet the travel reality.
I found myself in just such a situation on a recent photo trip to Alaska. I normally carry a tripod along with a ball head and a gimbal head. Turns out if I took both my bag would have been 50+ pounds and I did not want to pay the penalty. I decided on just the gimbal since I knew it would work for my long lenses and also provide basic ballhead functionality (although not quite as efficiently.)
Even with that I ended up wanting to shoot a macro shot from directly overhead my subject. My first plan of attack is shown below.

As you can tell, probably not the best way to shoot. Not only is the platform unstable but my ergonomics are horrible. This is a really easy way to hurt your back and take a bad picture at the same time. So I needed to innovate.
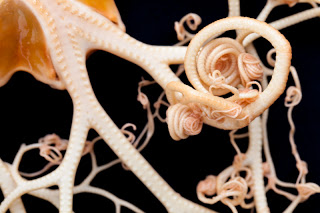
My solution was to multi-task my gear. I know I had a great tripod (Really Right Stuff TVC-33) and my gimbal (RRS PG-02). I decided to see if I could make it work in this macro situation.

After looking at the PG-02, I took the vertical support arm and turned it around. This allowed me to support the camera and point it straight down at my basket sea star. I had never done this before and did not know the PG-02 could do this. What I found is exactly what Alton Brown talks about on Good Eats; another great use for a piece of gear designed for something a little (or a lot) different.

Although I had good support, my ergonomics still, for lack of a better word, sucked. Before I destroyed my back, I finally settled on what you see below.


Tremendous support, good ergonomics, and a different view of a basket sea star. After these shots were taken I switched over to an EF 100mm f/2.8L Macro for closer shots (an example is the first shot at the top of the post.)
So here is to Alton Brown, Good Eats, and multi-tasking.
As you all know I love Really Right Stuff gear. This shoot made me an even bigger fan of the RRS PG-02. Good luck making this happen with any of the other gimbal heads out there.
Fiat Lux!
All shots of me are courtesy of Marc Muench, Leanna Telliard-Stern, and Gina Ruttle. Thank you!

Basket stars multi-task as hair!
Go For It: Pixels are Free
One of my favorite expressions with digital photography is "pixels are free." With no cost, photographers should enjoy complete freedom to experiment and play. If you have an idea for a shot, go for it. If it works, great. Take what you did and make it a part of your photography.
If it does not work out, no big deal. But use the results as a completely free learning experience. Go to school and figure out what was the issue/s. Can you make a small adjustment or do you need to go back to the drawing board and plan again.
I recently found myself in a situation where I honestly did not know how the results would turn out. I wanted to shoot a series of images for a landscape panorama in rapidly falling light levels. I had the Canon EF 800mm f/5.6L on my 5K Mk II; a combination not often used for panoramas. To make matters worse I was on the back of a moving boat. Not only was it moving forward and slowly rocking side to side but we were in a regular ocean swell so we were slowly heaving (up and down.)
Not the best situation but pixels are free so I went for it. The results from the 42 shots are shown below.

This is the panorama after the stitching process. If you follow the bottom (or top) you will notice a nice sine wave pattern. That is the boat going up and down with the ocean swell. My camera support was rock solid (RRS TVC-33 and PG-02) but the boat was out of my control.
At this point I had a nicely stitched panorama even though it is somewhat ugly in terms of how everything lined up. But it worked and did not cost a thing.

After a little cleanup, I had a usable, huge panorama to optimize. For a free experiment, I will take it.
Fiat Lux!
LR 4 Local Adjustments - Adjustment Brush Example
A quick demonstration of an effective and efficient local adjustment workflow using Lightroom 4's Adjustment Brush feature to optimize Exposure and White Balance. Although Lightroom is the example software the exact same process is available in Adobe Camera Raw.
Fiat Lux!
Solar Eclipse Photos!
For those of you who didn't hear, we had a 94% solar eclipse last Sunday and a few people were able to capture some pretty cool photos of the event.
Here are a few favorite images from our students who sent over Eclipse images!

A Great Collage from Pat Brown showing the progression of the Eclipse.

Jim Radford- Holes!

Jim Radford- The Technique
Jim Radford got creative! Setting up a piece of tinfoil attached to a box and poked several holes into it. He then photographed the shadow of the eclipse on a gray card he placed on an old tripod! Very creative and out of the "box" thinking to show the progression of the eclipse.

Pete Scifres
It is always good to mix it up a bit and bring in that foreground element. A very strange out of this world feel. Thanks Pete!

Gus
Love it! The "rays" of the sun are just incredible.
I would like to know everyone's specs and explanation on how you photographed your photos. If you can enter comments below to add to the post!
Thank you everyone for sending in your images! I wish I could post them all! Looking forward to our next photo adventure where we can learn, improve and take our photography to the next level!
Fiat Lux and happy shooting!